Growing peas in your garden can be a rewarding experience, offering fresh, sweet flavors straight from the vine. Whether you’re a seasoned gardener or just starting out, understanding the essentials of pea cultivation is key to a bountiful harvest.
In this article, we’ll explore five essential tips for successfully growing peas, covering everything from soil preparation to the importance of support structures. With these guidelines, you’ll be equipped to enjoy a plentiful pea crop that is both delicious and nutritious.
Table of Contents
Key Takeaways
- Prepare the soil in advance with aged manure or compost to ensure it’s rich and well-drained, ideally working the ground in autumn.
- Sow peas 1 inch deep and 2 inches apart in rows, avoiding overcrowding and ensuring proper rotation to prevent soil depletion.
- Water wisely, providing no more than 1 inch per week, and offer more during flowering to encourage pod formation, while avoiding pea rot.
- Utilize companion planting to enhance pea growth by pairing with beneficial plants like chives, mint, carrots, and beans.
- Support your pea plants with appropriate structures like trellises or stakes to maximize garden space and improve plant health.
1. Soil Preparation

Preparing the soil is a critical first step in growing sweet peas. Sweet peas are happiest with their heads in the sun and their roots deep in cool, moist soil. To ensure this, choose a well-drained site and enrich the soil with organic compost. This practice feeds both the soil and its microbiome, which is essential for the health of your plants.
Soil selection is not the time to compromise. For those who find soil testing and pH adjustments daunting, raised beds offer a solution by allowing you to introduce high-quality soil directly into your garden. This can be especially important in urban areas where soil may be contaminated.
Remember, after selecting the correct site with sufficient sunlight, soil quality is the most important factor for your garden’s success. Make sure to collect soil samples for testing to tailor your fertilization strategy for different areas of your garden.
Here are some steps to prepare your soil for planting:
- Add organic compost annually to feed the soil.
- Integrate compost into the soil to promote good penetration and moisture exchange.
- Plan your garden’s crop rotation from the previous year.
- Consider constructing garden structures like cold frames and trellises in advance.
2. Sowing Techniques for Successfully Growing Peas

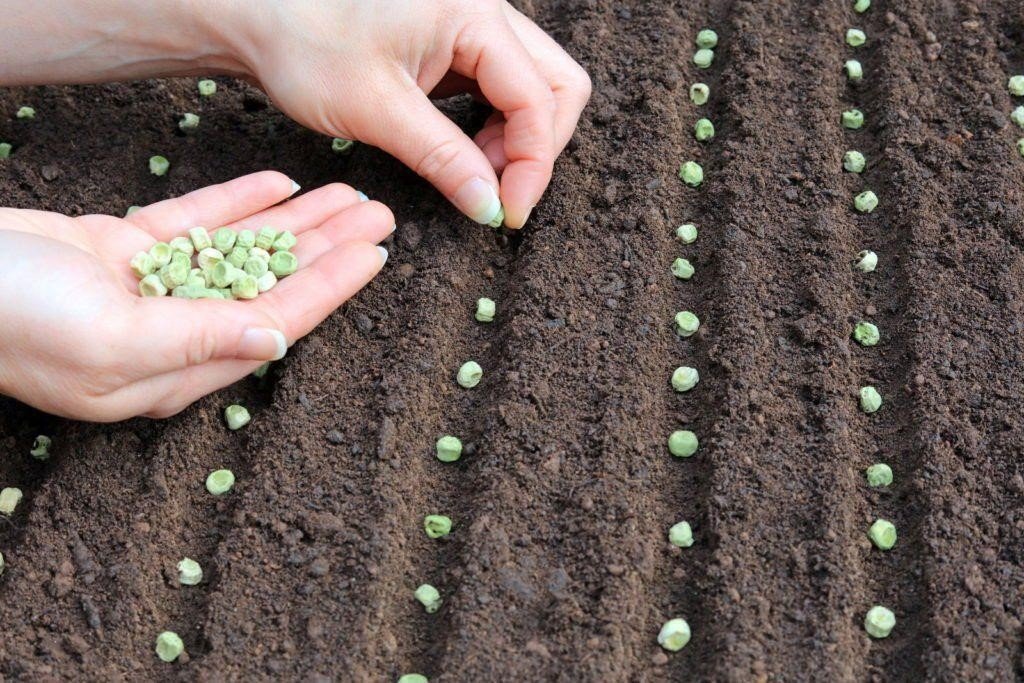
Proper sowing techniques are crucial for the successful germination and growth of peas. Begin by preparing a well-tilled seedbed, ensuring it is free of stones and large clods of dirt, as these can inhibit germination. Sow pea seeds directly into the ground, as they perform best when not transplanted. For optimal spacing, follow this simple guide:
- Sow seeds 1 inch deep, slightly deeper if the soil is dry.
- Place seeds about 2 inches apart in the row.
- Ensure rows are at least 7 inches apart to allow for growth and air circulation.
To speed germination, consider soaking the seeds in water overnight before planting. This can be particularly beneficial in areas with a long and wet spring.
Remember to sow seeds in a single V-shaped drill, 5cm deep, and water the base before adding the seeds. After sowing, backfill the drill and water the peas well. Avoid the urge to rush planting in cold or wet conditions; waiting for the soil to warm up can save your crop from rotting. Once the peas flower, give them a thorough soak to encourage pod formation, and keep the area weeded for the best results.
3. Watering Practices

Proper watering is crucial for the success of your pea plants. Consistency is key; establish a routine that suits the needs of your peas and the local climate. While peas enjoy moderate moisture, they do not thrive in waterlogged conditions. If spring brings rain, you may never need to water your peas. However, keep an eye on conditions and only water if the soil is getting dry.
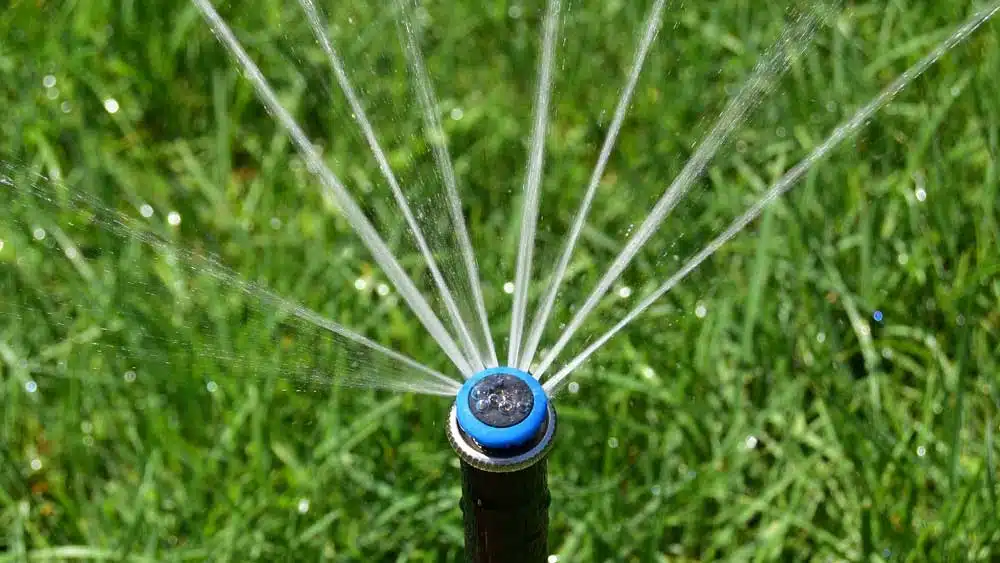
Peas require about one inch of water per week. The best time to water is early morning, as evening watering can lead to fungal diseases due to wet leaves overnight. To check if your peas need watering, feel the soil about an inch below the surface. If it feels dry, it’s time to water.
Remember to water your seedlings gently to avoid disturbing the fragile roots. A gentle spray is preferable to a heavy stream. As the temperature rises, container-grown peas may need watering twice a day. Always ensure that your containers have adequate drainage to prevent waterlogging.
4. Companion Planting

Companion planting is a time-honored gardening technique that involves strategically pairing compatible plants to enhance growth, deter pests, and maximize yields. Research companion planting combinations that complement each other’s attributes to create a thriving ecosystem in your garden.
For peas, great planting companions include chives, mint, alyssum, carrot, corn, cucumber, radish, turnip, and beans. These companions can help improve the overall health and productivity of your pea plants. For example, planting aromatic herbs like basil or marigolds alongside peas can repel harmful insects and improve flavor.
Embrace diversity in your garden through companion planting to foster plant health and productivity.
Experiment with different combinations and observe the results in your garden. Companion planting is not only about pest control; it’s also about enhancing the symbiotic relationships between plants. Here’s a simple guide to get you started:
- Chives: Can improve the flavor and growth of peas.
- Mint: Helps to deter pests that may harm pea plants.
- Alyssum: Attracts beneficial insects that aid in pollination.
- Carrot: Shares space well with peas, as they have different root depths.
- Corn: Acts as a natural support structure for pea vines.
- Cucumber, Radish, Turnip: These plants do not compete with peas for nutrients.
- Beans: Fix nitrogen in the soil, which benefits peas.
5. Support Structures

Providing the right support structures for your peas is crucial for their growth and yield. Both types benefit from support, especially bush peas above 2 feet and all pole peas. As the peas begin to climb, they will need something to latch onto. Trellises are a popular choice, but you can also use pea sticks, netting, or even branches from pruned shrubs.
When your pea plants reach about 10cm in height, it’s time to introduce support. Here’s a simple guide to follow:
- Place supports next to the plants early on.
- Use bamboo canes and string, pea sticks, or trellises.
- Ensure the support system is sturdy enough to handle growth and weight.
Remember, the support system you choose should be able to accommodate the full height and weight of the mature pea plants.
Sweet peas, in particular, produce heavy vines that can grow over 6-8ft tall. Therefore, it’s essential to have a robust support system in place from the start. Without adequate support, plants may grow too close to the ground, leading to management difficulties and potential rot in mature fruit.
Cultivating Zucchini: Tips for a Successful and Abundant Harvest
Step-by-Step to Growing Bell Peppers in Your Garden
Mastering the Art of Growing Carrots: Tips for a Bountiful Harvest


