Radishes stand out as one of the most rewarding and straightforward crops to cultivate, especially during the cooler spring months. With varieties like ‘French Breakfast’ offering a mild flavor and a striking appearance, radishes can be a colorful and tasty addition to your garden.
They are known for their quick maturation and suitability for succession planting, ensuring a continuous harvest. Whether you’re a seasoned gardener or a beginner, mastering the art of growing radishes can be simple with the right techniques and a bit of insider knowledge on seed selection, sowing, cultivation, pest management, and storage.
Table of Contents
Key Takeaways
- Choosing the right radish variety, like the ‘French Breakfast’, is crucial for taste and successful cultivation, with consideration for the planting season.
- Pelleted seeds can significantly enhance the sowing process, ensuring easier handling and more reliable germination for crops like radishes.
- Implementing succession planting and understanding the optimal conditions for soil, watering, and spacing are key to a thriving radish harvest.
- Organic pest management and disease prevention are essential for maintaining a healthy radish crop, alongside proactive measures to protect the plants.
- Knowing the signs of readiness for harvest and employing proper techniques for harvesting and storing radishes will maximize their quality and shelf life.
Selecting the Right Radish Varieties
Understanding Different Radish Types
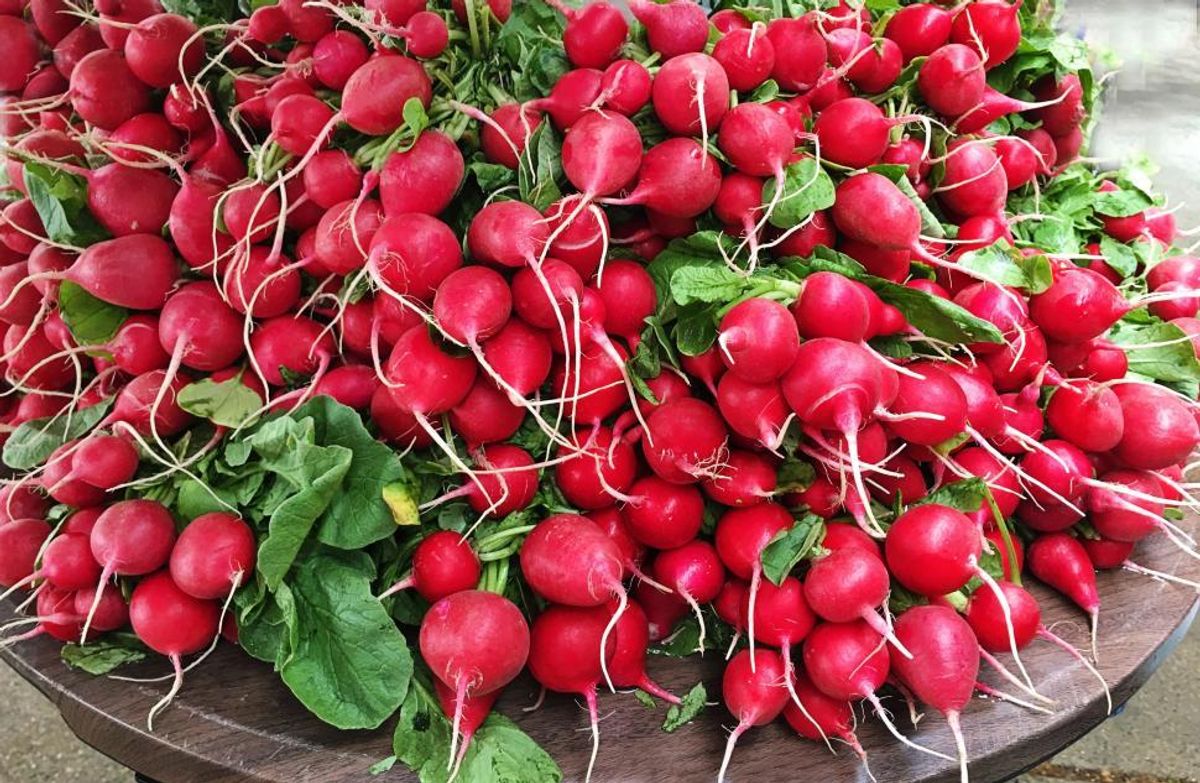
Radishes are a diverse group of root vegetables that can add both flavor and color to your garden. One of the most popular types of radish seeds, radish white, comes in two varieties. You could either opt for the radish white long seeds or the radish white short seeds, each offering a unique shape and texture to your dishes.
Radishes are not only easy to grow but also quick to mature, making them perfect for eager gardeners. The ‘French Breakfast’ variety is particularly renowned for its mild flavor and distinctive red and white coloration.
While radishes are generally heat intolerant, they are ideal for spring planting. Some, like the ‘French Breakfast’ and ‘Hakurei’ turnips, can be harvested as soon as a month after seeding. When planning your garden, consider these varieties for a successful and flavorful harvest.
Top Varieties for Flavor and Growth
When selecting radish varieties for your garden, flavor and growth rate are key considerations. Smaller varieties of radishes, such as the ‘Cherry Belle’ and ‘French Breakfast’, are known for their quick growth rates, often ready to harvest in as little as 30 days. For those seeking a balance of taste and efficiency, these varieties are ideal.
Italics are used to emphasize the importance of growth rate, which is a crucial factor in choosing the right radish variety. Some of the best radish varieties differ based on their appearance and time to harvest, allowing gardeners to select according to their specific preferences and gardening schedules.
When planning your radish garden, consider the following top performers for both flavor and rapid growth:
- ‘Cherry Belle’: A classic choice with a crisp texture and mild flavor.
- ‘French Breakfast’: Distinctive oblong shape with a spicy kick.
- ‘Watermelon’: Known for its stunning interior color and sweet taste.
These varieties not only bring diversity to your garden but also ensure a successful and flavorful harvest.
Seasonal Considerations for Radish Planting
Understanding the best time to plant radishes is crucial for a successful harvest. Spring is the prime season for radish planting, with some varieties ready to harvest within a month. Begin sowing as early as March if the weather permits, but always be mindful of the soil temperature, as radishes are sensitive to extreme cold.
Radishes thrive in cool weather, making them perfect for both spring and fall harvests. For an extended growing season, consider succession planting. Here’s a simple guide for seasonal planting:
- Early Spring (March-April): Start with cold-tolerant varieties like ‘French Breakfast’.
- Late Spring (May): Continue planting for a staggered harvest.
- Fall (September-October): Plant winter varieties for a late harvest.
Remember, radishes prefer cool soil and mild temperatures. Protect your crop from late frosts by using mulch or row covers if necessary. Delay planting if a cold snap is forecasted.
Sowing and Germination Secrets of growing radishes
The Benefits of Pelleted Seeds
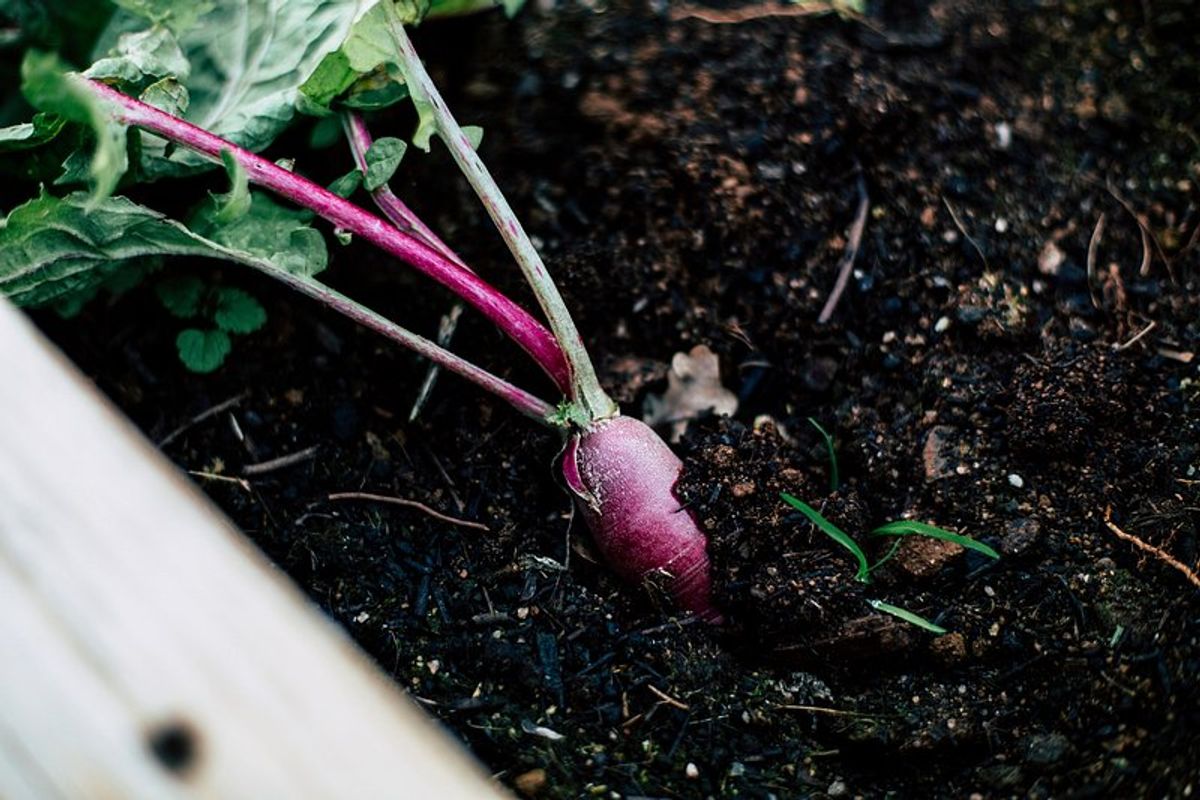
Gardeners often seek ways to enhance the sowing process, and pelleted seeds offer a significant advantage. The pelleting process coats each seed in a uniform layer, which not only simplifies handling but also improves visibility against the soil. This is particularly beneficial for those with less steady hands or for planting in challenging conditions.
Pelleted seeds are known for their higher germination rates, a result of the protective barrier that the pelleting provides. This barrier shields the seed from environmental stressors, leading to more consistent sprouting and healthier seedlings. Here’s a quick list of the benefits that pelleted seeds bring to your gardening experience:
- Easier handling and planting
- Better seed visibility
- Protection from pests and diseases
- Enhanced germination consistency
Embracing pelleted seeds can be a game-changer for gardeners, ensuring that each seed has the best possible start. It’s a simple yet effective way to increase the success rate of your radish crop.
Optimal Soil Conditions for Radish Seeds
To cultivate radishes successfully, optimal soil conditions are crucial. Radishes, being root vegetables, thrive in soil that is loose, well-draining, and rich in organic matter. The ideal pH range for radish growth is between 6.5 and 7.0, ensuring the soil is neither too acidic nor too alkaline.
Moisture is also key for radish seeds. The soil should be consistently moist but not waterlogged, as radishes prefer full sun but can tolerate partial shade. In hotter climates, they may even require full shade during the peak of summer. A well-prepared bed that receives adequate sunlight will support vigorous growth and yield.
- Ensure soil is loose and free of large clumps or stones
- Enrich soil with compost or well-rotted manure prior to planting
- Maintain even moisture levels, especially during germination
Consistent care and attention to soil conditions can lead to a bountiful radish harvest, with crisp, flavorful roots that are a delight in any dish.
Temperature and Timing for Successful Germination
Achieving the perfect balance of temperature and timing is crucial for the successful germination of radish seeds. Best practice recommends that radishes should be planted in light, well-draining soil. The optimal temperature for germination is between 45\u00B0F to 85\u00B0F (7\u00B0C to 29\u00B0C), with warmer soil potentially speeding up the process. Use a soil thermometer to ensure accuracy, and consider a warming mat for consistent heat, especially in cooler climates.
It’s essential to sow seeds at the correct time to avoid plants outgrowing their pots or not reaching maturity before the end of the growing season.
Maintain a consistent temperature for your seed trays by placing them in a warm area of your home, such as near a heating vent or on top of a seedling heat mat. Monitor the temperature with a thermometer and adjust as needed. Watering should be done carefully, using a watering can with a fine sprinkling head, to wake up the seed without overwatering. Overwatering can lead to root rot, so ensure the top inch of soil is dry before watering again. Proper watering is essential for seed germination.
Cultivation Techniques for Thriving Radishes
Succession Planting for Continuous Harvest
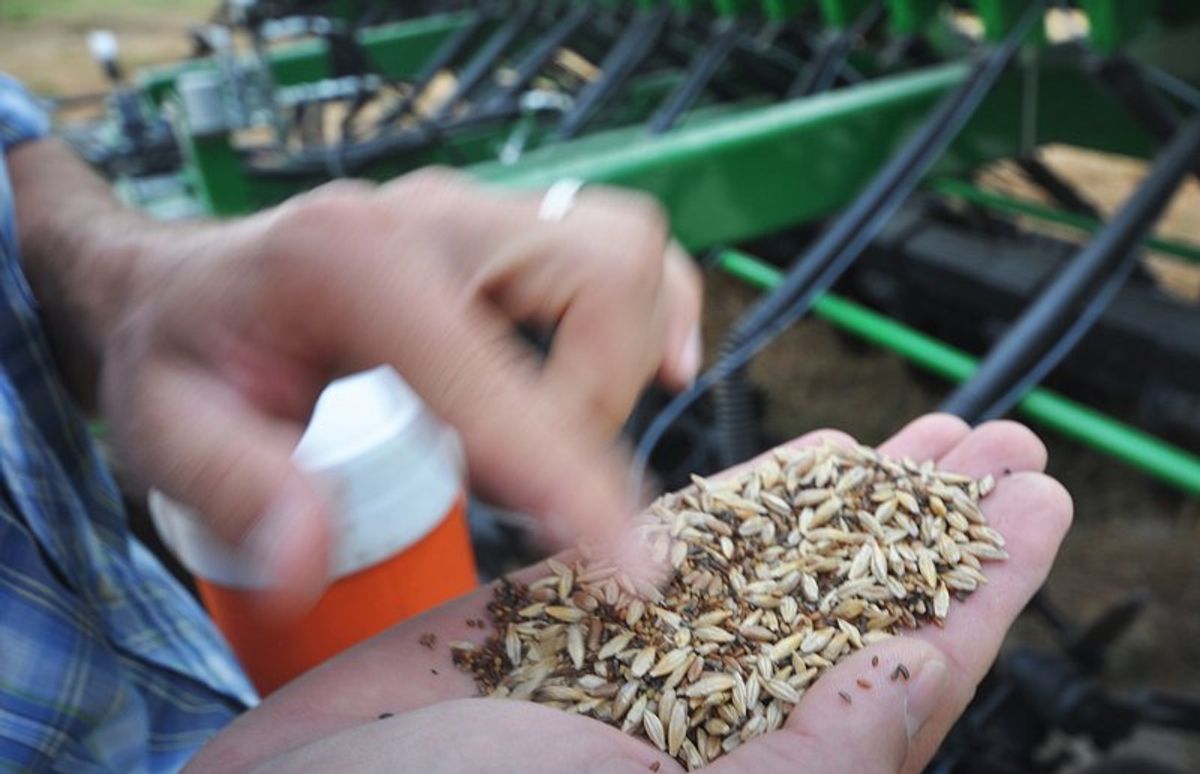
Succession planting is a strategic approach that ensures a continuous supply of radishes throughout the growing season. By staggering the planting dates, gardeners can avoid a feast-or-famine situation and enjoy a steady harvest. Start by planting a new batch of radish seeds every two weeks; this will provide a regular rotation of maturing radishes ready for your table.
Radishes are quick to mature, which makes them ideal for succession planting. Here’s a simple timeline to follow:
- Early spring: Begin planting as soon as the soil can be worked.
- Late spring to early summer: Continue planting every two weeks.
- Summer: Choose heat-tolerant varieties to withstand the warmer temperatures.
- Early fall: Resume planting as the weather cools for a late-season harvest.
Remember, the key to successful succession planting is consistent timing. Mark your calendar to keep track of planting dates and ensure that your radishes are sown at regular intervals.
By following these steps, you’ll maximize your radish yield and have fresh, crisp radishes for salads, garnishes, and healthy snacks throughout the season.
Watering and Feeding Your Radish Plants for growing radishes
Proper irrigation and nutrition are crucial for the healthy growth of radishes. Water deeply and less frequently to promote strong root development and enhance drought resistance. Between waterings, allow the soil to dry slightly, which encourages the radishes to ‘search’ for moisture, developing a robust root system.
When it comes to feeding your radishes, a balanced approach is key. Use a fertilizer that is rich in potassium and phosphorus to support root growth and overall plant health. Avoid high nitrogen fertilizers, as they can lead to lush foliage at the expense of the root crop. Here’s a simple guide to fertilizing your radishes:
- At planting: Mix in a balanced fertilizer into the soil.
- Growth phase: Apply a side dressing of compost or a potassium-rich fertilizer.
- Pre-harvest: Cease fertilization to allow radishes to mature naturally.
Remember, over-fertilization can harm your plants and the environment. Always follow the recommended rates on the fertilizer package. For more insights on doubling your radish growth, consider exploring resources like “Fertilizing My Radish to Double Its Growth” by Greg App.
Thinning and Spacing for Optimal Growth
Proper thinning and spacing of radish plants are critical for their development. Initially, plant radish seeds about 1 inch from each other to allow for adequate germination space. As they grow, thinning is necessary to prevent overcrowding, which can stunt growth and reduce yield.
Thinning should be done early to minimize disruption to the roots of neighboring plants. Remove the smallest seedlings, leaving the strongest to mature. This process ensures that each radish has enough room to expand and receive sufficient nutrients and sunlight.
Here’s a simple guide to follow:
- Plant seeds 1 inch apart
- Thin seedlings to 2-3 inches apart
- Final spacing should be 4-6 inches for optimal growth
Ensuring proper air flow and sunlight penetration is essential after thinning. It encourages healthy radish development and can prevent many common issues related to dense planting.
Pest Management and Disease Prevention
Identifying Common Radish Pests
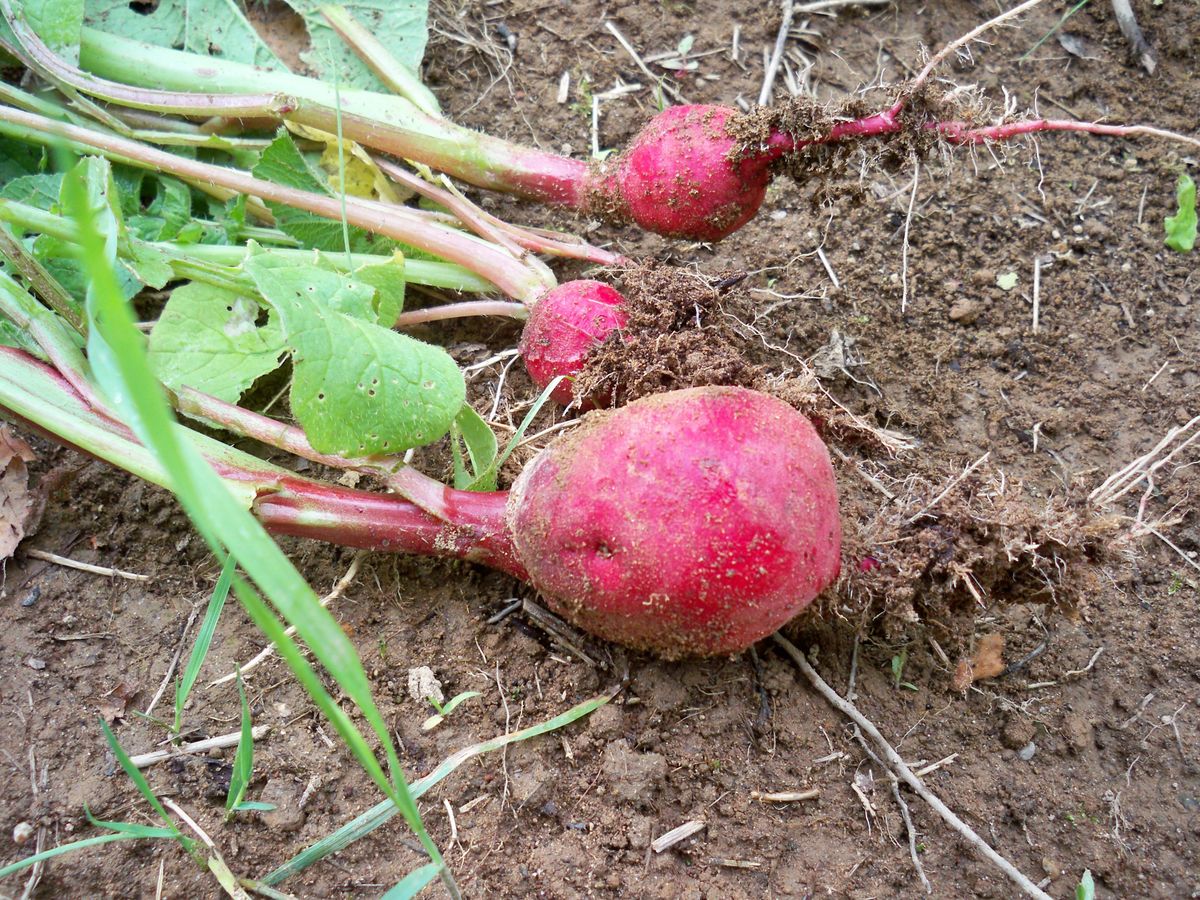
Radishes, while easy to grow, are not immune to the challenges posed by pests. Identifying the common pests that target your radish crop is the first step towards ensuring a healthy harvest. Some of the usual suspects include flea beetles, which leave small holes in the leaves, and aphids, which can be found in clusters under the leaves or on new growth.
Flea beetles and aphids are not the only pests to watch out for; root maggots can also cause significant damage. They are particularly attracted to the radishes’ roots, leading to stunted growth and brown spots on the radish leaves, which can be a garden mystery. This symptom is often associated with fungal issues, which may present with a powdery or rusty look.
To effectively manage these pests, regular monitoring of your radish plants is essential. Look for signs of infestation and take action promptly to mitigate damage.
Here is a list of common radish pests and the signs of their presence:
- Flea beetles: Small holes in leaves
- Aphids: Clusters under leaves or on new growth
- Root maggots: Stunted growth, brown spots on leaves
By staying vigilant and addressing pest issues early, you can protect your radish crop and enjoy a bountiful harvest.
Organic Solutions to Protect Your Crop
In the quest to maintain a healthy radish crop, organic solutions offer a safe and environmentally friendly way to manage pests. Wash them away with a strong stream of water or introduce natural predators like ladybugs to keep the bug population in check. For more persistent pest issues, organic options such as neem oil or insecticidal soap can be effective allies.
By implementing organic pest control measures, you will protect the health and vitality of your garden without resorting to harsh chemicals.
Additionally, proactive measures can significantly reduce the risk of pest infestations. Regular monitoring of your plants for any signs of new pest activity is crucial. Prompt action, such as the application of organic insecticides, can prevent further damage and ensure the success of your radish crop.
Preventative Measures for Disease Control
To safeguard your radishes from diseases, proactive measures are essential. Mulching is a critical step; it not only suppresses weeds but also helps maintain soil moisture and temperature, creating less favorable conditions for disease.
Regular monitoring of your radish plants is crucial for early detection and management of potential issues.
Organic fungicides can be a gardener’s ally in preventing fungal diseases. Spraying products like Actinovate or Bonide Copper Fungicide according to the manufacturer’s instructions can help keep your radishes healthy. Remember, the best defense is a good offense: proper plant spacing, ensuring adequate air flow, and appropriate irrigation are foundational to disease prevention.
Here are some additional steps to consider:
- Install row covers or frost blankets to protect young plants from harsh weather.
- Use netting or cages to keep birds and other animals at bay.
- Introduce beneficial insects that prey on common garden pests, reducing the chance of disease spread.
Harvesting and Storing Radishes
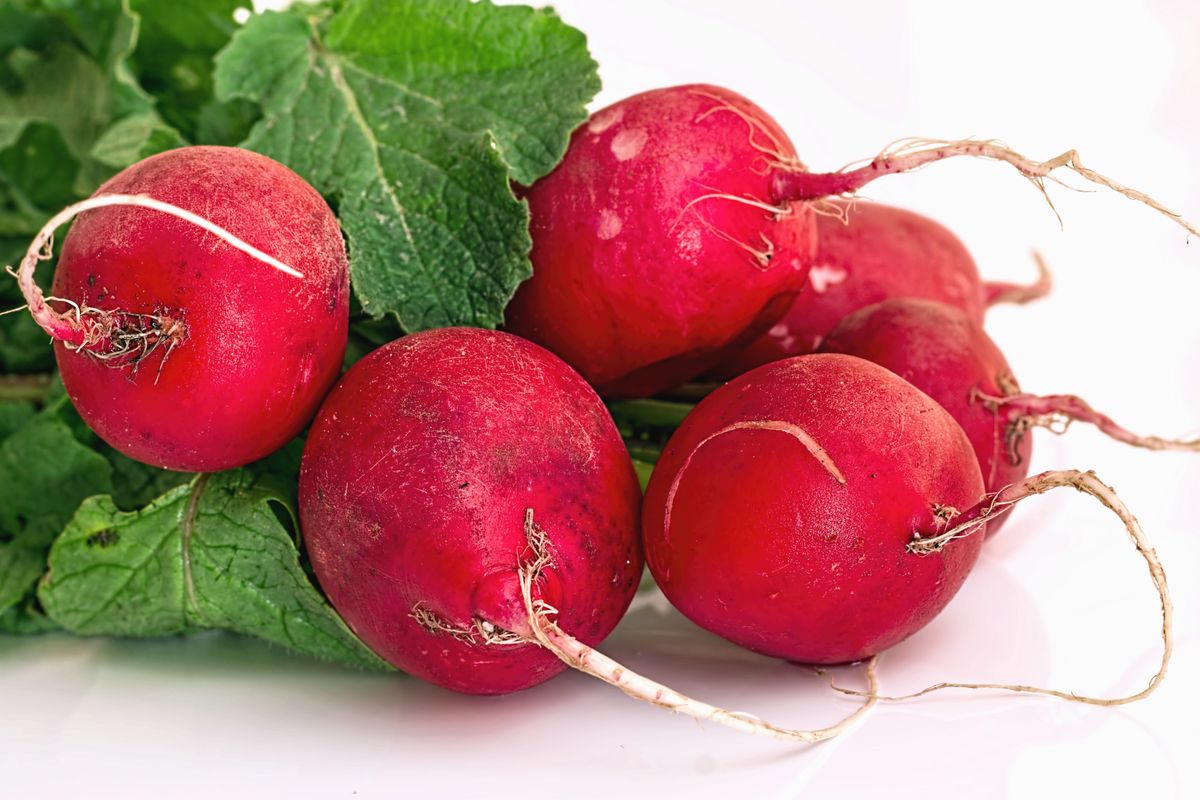
Signs Your Radishes Are Ready to Harvest
Determining the right time to harvest radishes is crucial for the best flavor and texture. Look for radishes that are of good size and have firm roots; this is a clear indication they are ready to be picked. Typically, radishes are ready to harvest when they are about an inch in diameter, but this can vary depending on the variety.
Size isn’t the only factor; the color of the radish should be vibrant, and the tops should be green and healthy-looking. If the tops are yellowing or the radishes are soft, they may be overripe.
- Check the size of the radish
- Assess the firmness of the root
- Look for vibrant color
- Ensure the tops are green and healthy
When in doubt, gently unearth a radish to inspect its size and firmness. This can be done without harming the surrounding plants and gives you a clear idea of whether the rest of the crop is ready for harvest.
Techniques for Harvesting Without Damage
Harvesting radishes at the right time and in the right way is crucial to maintain their quality and longevity. Always use a gentle hand when pulling radishes from the soil to avoid bruising or breaking them. If the soil is compacted, use a garden fork to loosen the earth around the radishes before lifting them.
Timing is essential when harvesting radishes. They should be picked when they are of ideal size, not too small and not overgrown, as this affects both taste and texture. Here’s a simple guide to follow:
- Check the size of the radish by gently brushing away the soil at the top of the bulb.
- Grasp the radish at the base of the greens, close to the root.
- Pull straight up with a steady pressure to avoid snapping the root.
- If resistance is felt, use a garden fork to loosen the soil and try again.
Remember, regular harvesting encourages the plant to produce new bulbs, leading to a more abundant crop.
Best Practices for Storing Radishes
To maintain the crispness and flavor of radishes, proper storage is essential. Refrigerate radishes promptly after harvesting to preserve their freshness. Radishes are highly perishable, and immediate refrigeration slows down the degradation process.
When storing radishes, remove the tops to prevent them from drawing moisture away from the roots. This simple step can significantly extend the shelf life of your radishes.
For optimal storage, follow these guidelines:
- Place radishes in a plastic bag with a paper towel to absorb excess moisture.
- Store them in the crisper drawer of your refrigerator.
- Check periodically and remove any radishes that start to soften or show signs of spoilage to prevent it from affecting the others.
Remember, the key to long-lasting radishes is to keep them cool and dry. By adhering to these practices, you can enjoy fresh radishes for weeks after harvest.
Cultivating Zucchini: Tips for a Successful and Abundant Harvest
Step-by-Step to Growing Bell Peppers in Your Garden
Mastering the Art of Growing Carrots: Tips for a Bountiful Harvest


Thank you all