Step-by-Step to Growing Bell Peppers in Your Garden
Growing bell peppers in your garden is an exciting journey that brings you closer to nature and provides a fresh supply of this versatile vegetable. This step-by-step guide aims to demystify the process of bell pepper cultivation, from understanding the varieties to harvesting your homegrown peppers. Whether you’re a seasoned gardener or a beginner, these insights will help you grow bell peppers successfully and enjoy the burst of color and flavor they add to your meals.
Key Takeaways
- Bell peppers require a long growing season and can be started from seeds indoors or purchased as starter plants from a nursery.
- Choosing the right location with ample sunlight and preparing the soil with proper amendments are crucial for healthy growth.
- Regular watering, mulching, and appropriate fertilization are key to nurturing bell pepper plants throughout their development.
- Pest and disease management is essential to protect your bell peppers, with organic methods available for eco-friendly gardening.
- Harvesting at the right time ensures maximum flavor and nutritional value, and proper techniques can extend the shelf life of your peppers.
Table of Contents
Preparing for Bell Pepper Cultivation
Understanding Bell Pepper Varieties
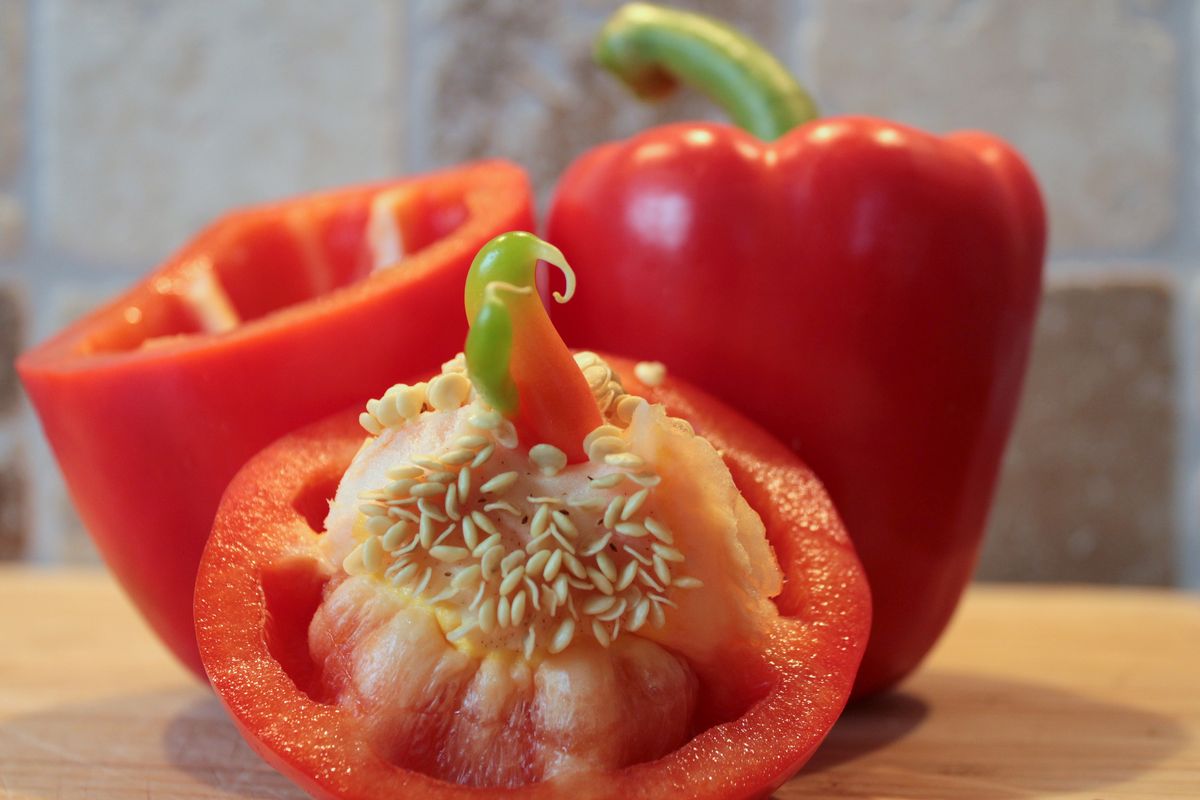
Bell peppers, scientifically known as Capsicum annuum, are not only a colorful addition to your garden but also a versatile ingredient in the kitchen. Choosing the right variety is crucial for your gardening success and culinary enjoyment. From the classic sweet bells to the more piquant jalapenos, each variety offers unique flavors and growth characteristics.
When selecting bell pepper varieties, consider factors such as size, color, and maturation time. For instance, the common green and red bell peppers found in supermarkets are the same; red peppers are simply matured longer, resulting in higher vitamin C content and a sweeter taste. Sweet bell peppers lack capsaicin, the compound responsible for the heat in spicy peppers.
Bell peppers are heat-loving vegetables that thrive in warm climates. They are generally pest-resistant and disease-resistant, making them an excellent choice for both novice and experienced gardeners.
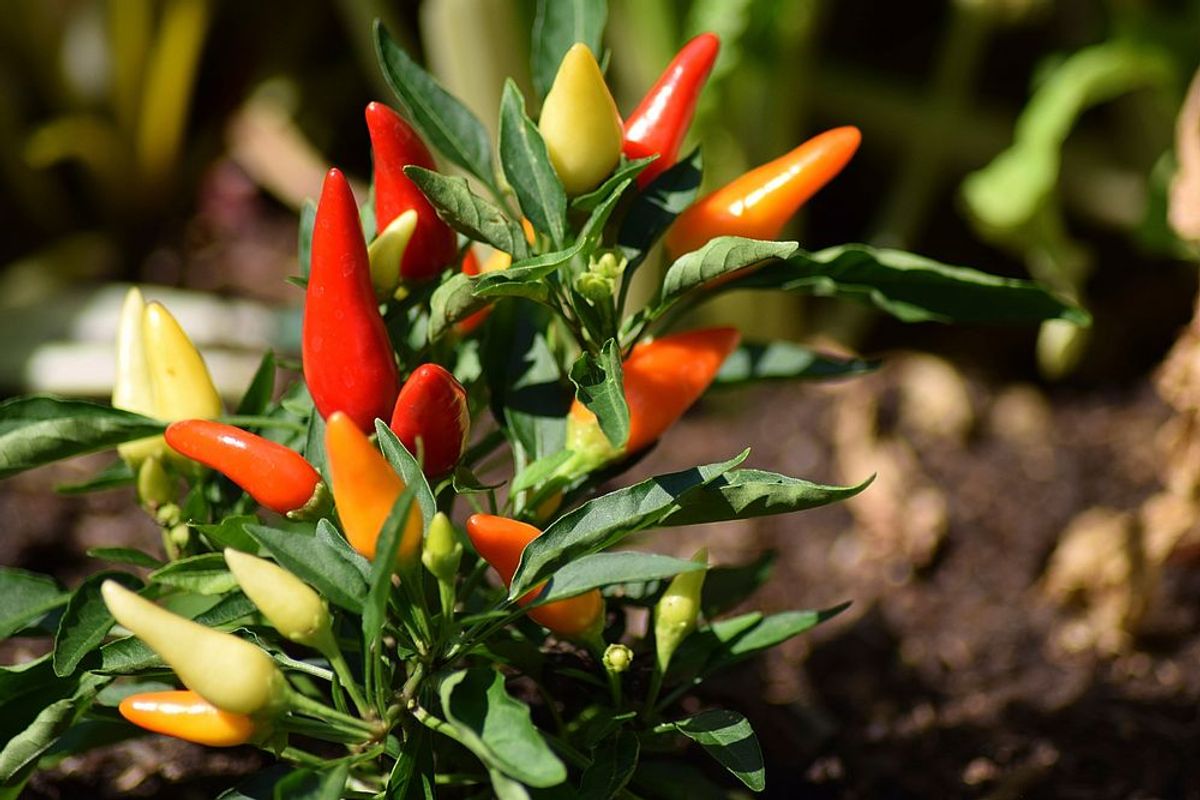
Here’s a quick reference to some potent pepper varieties that you might want to grow in your garden:
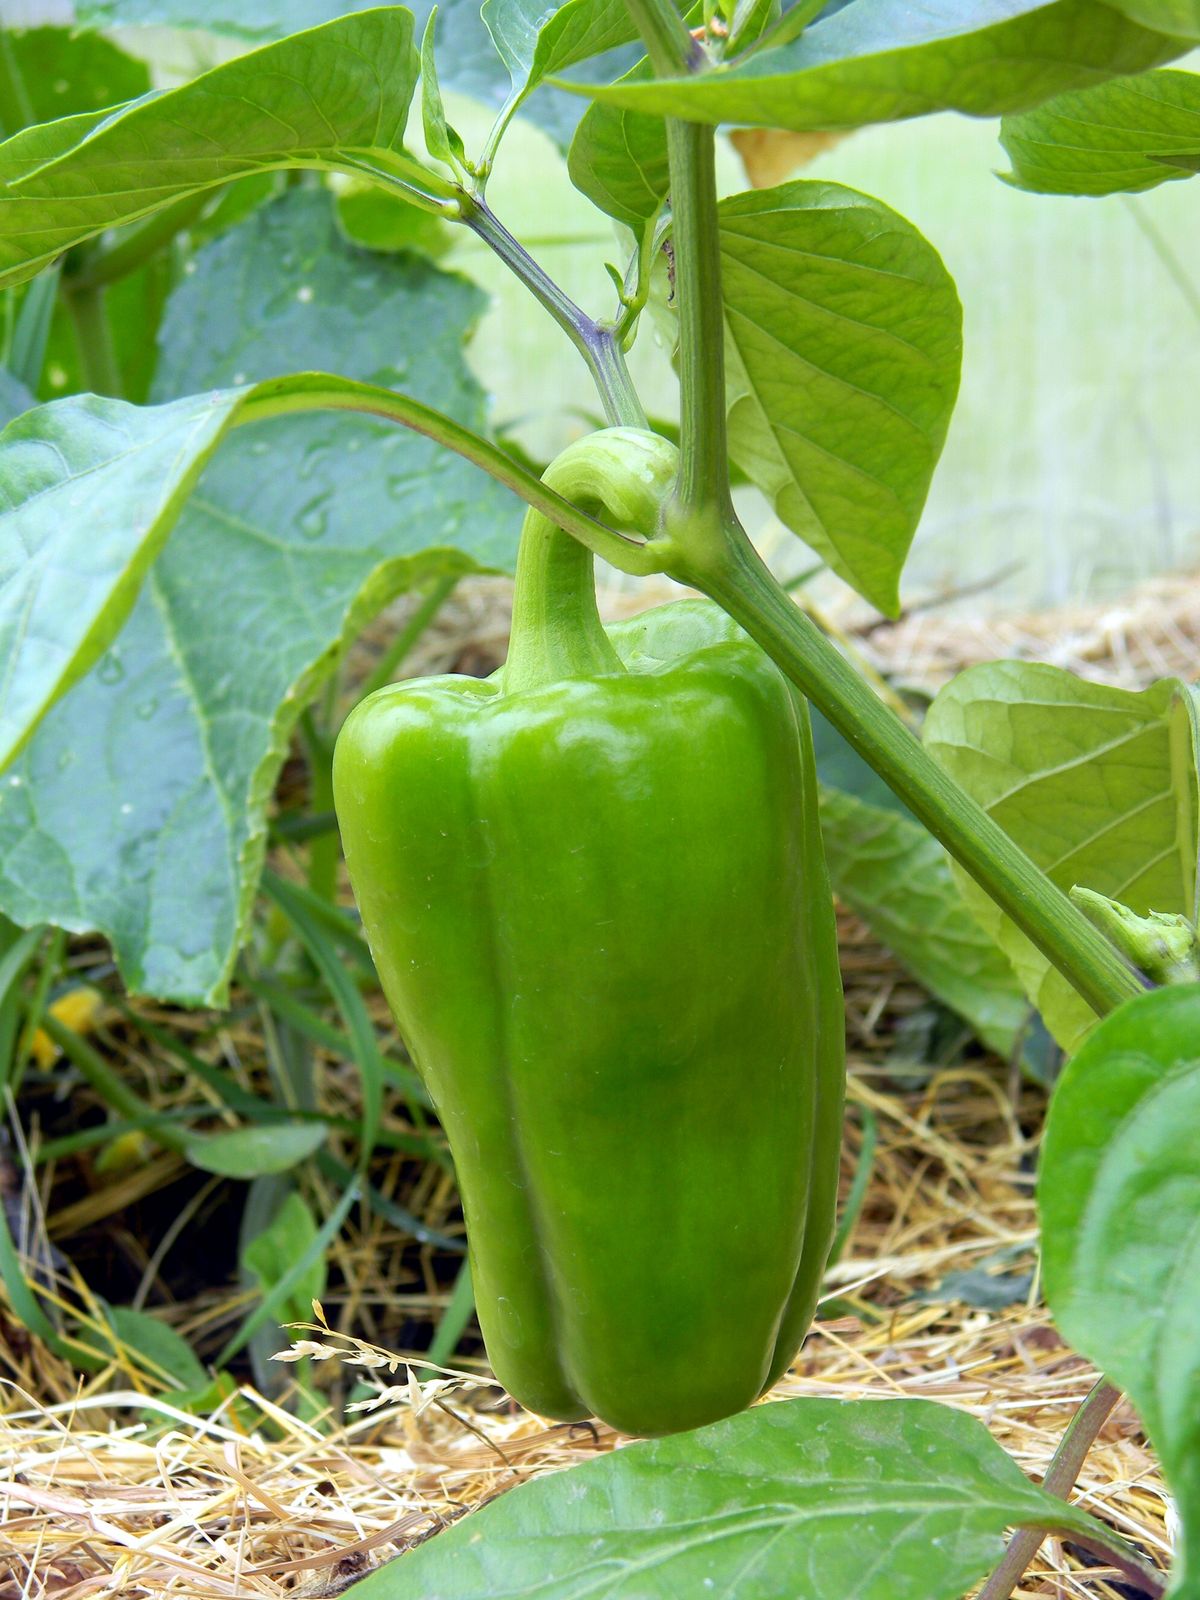
- Sweet Bell: Large, blocky shape, sweet flavor, available in green, red, yellow, and orange.
- Banana Pepper: Long and yellow, mild to medium heat.
- Jalapeno: Small, green or red when ripe, medium to hot heat.
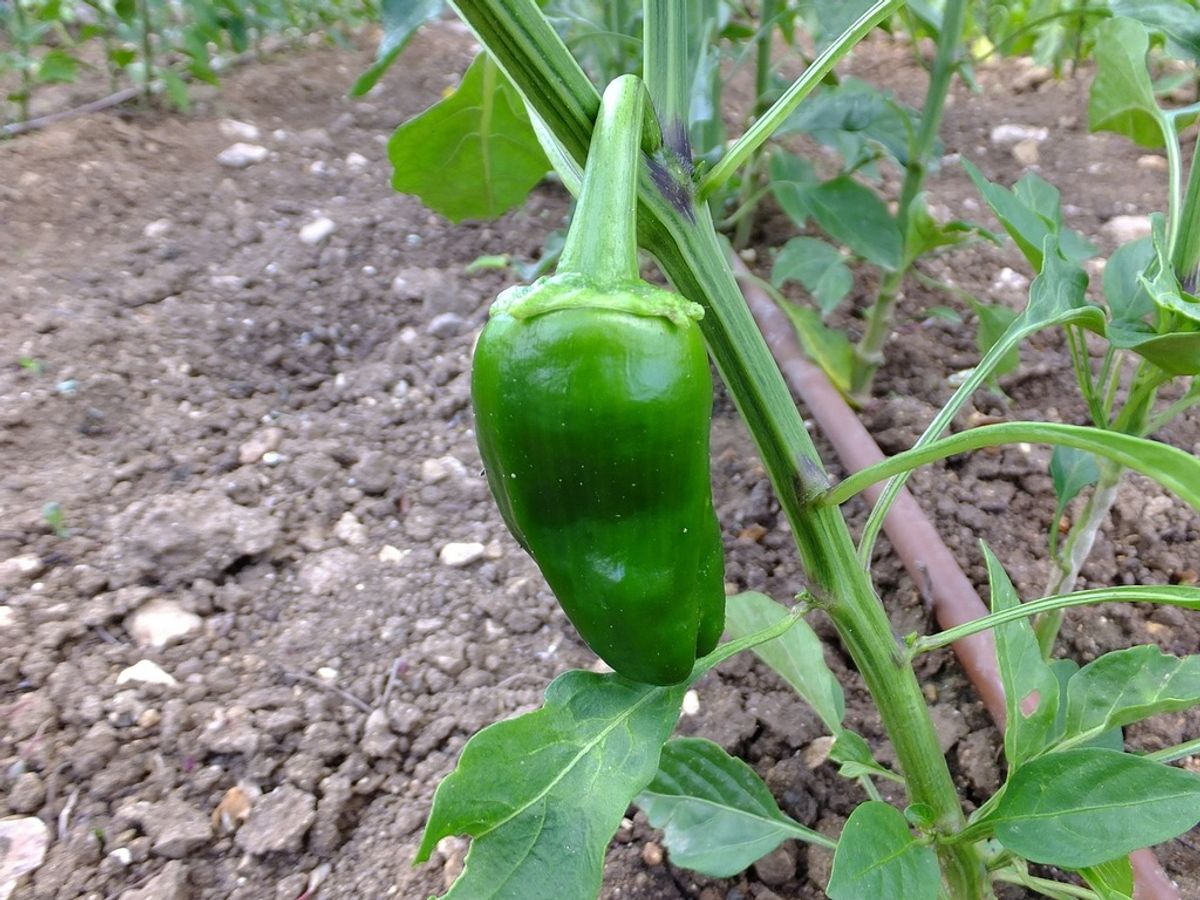
- Poblano: Dark green, mild heat, often used in Mexican cuisine.
Selecting the Ideal Location
Choosing the right location for your bell pepper plants is crucial for their growth and yield. Bell peppers thrive in areas with ample sunlight and warmth, as they are heat-loving plants. The best outdoor growing zones for bell pepper plants are in the Southeast, where conditions are typically ideal. Ensure the selected spot receives at least 6-8 hours of direct sunlight daily.
When considering the layout of your garden, spacing is key. We recommend spacing bell peppers at 18 inches (46 cm) between plants to allow for adequate air circulation and root development. Though the plants are usually slim, their root systems can be extensive, requiring space to expand.
Proper drainage is essential to prevent waterlogging and root diseases. Choose a location with well-draining soil or improve drainage by creating raised beds or using containers with drainage holes.
Remember, the success of your bell peppers starts with the location you choose. Take the time to observe your garden’s sun exposure, soil quality, and moisture levels before planting.
Soil Preparation and Amendments
Proper soil preparation is crucial for the success of your bell pepper plants. Pre-moistening the soil is the first step, ensuring it’s ready to support seed germination without becoming hydrophobic. Gradually add water to your soil mix in a clean container, stirring until it reaches a slightly moist consistency. It should clump slightly but not feel muddy.
Soil blocking is another technique that can significantly benefit your bell pepper seedlings. By promoting better airflow and oxygen levels, this method helps prevent the roots from becoming bound, leading to healthier plants with stronger root systems.
Incorporating organic, granular fertilizer into the soil can provide a steady supply of nutrients. Additionally, supplementing with diluted liquid fish emulsion or seaweed every few weeks can boost plant growth. Compost is also an excellent amendment, enriching the soil with essential nutrients and improving its structure.
Remember, peppers grow best in soil with a slightly acidic pH, between 6.0-7.0. This is the ideal range for peppers and many other garden favorites.
Planting Bell Peppers
Starting from Seeds Indoors
Starting bell pepper seeds indoors is essential for a bountiful harvest. Peppers are long-season crops that require a head start to fully mature. Begin by planting seeds 1/4 inch deep in pots with potting mix. To ensure germination, maintain soil temperatures at or above 70\u00b0F (21\u00b0C), which may necessitate a heated propagator or heat mat.
Seedlings typically emerge within two weeks, but patience is key as some varieties may take up to five weeks. Proper lighting is crucial; provide 12 to 16 hours of light daily for strong growth. Remember, consistent moisture is vital—seeds must not dry out, yet overwatering can be just as detrimental.
Before transplanting outdoors, it’s important to harden off the seedlings. This gradual acclimation to outdoor conditions is a critical step to prevent shock and ensure a smooth transition.
By following these guidelines, you’ll create the warm conditions necessary for your bell pepper seeds to thrive indoors, setting the stage for a successful growing season.
Timing and Climate Considerations
To ensure the successful growth of bell peppers, timing and climate are crucial. Start your seeds indoors approximately eight weeks before the last expected frost date. This head start is essential for a robust growth cycle, as bell peppers thrive in warm conditions.
- Ensure soil temperatures are consistently above 60-70 degrees Fahrenheit (15-21 degrees Celsius) before transplanting seedlings outdoors.
- Transplant in the evening or on a cloudy day to reduce stress on the plants.
- Space the seedlings 18-24 inches apart in rows that are 2-3 feet apart.
Bell peppers require full sunlight to flourish, so select a location that receives ample direct sunlight. The warmth from the sun not only aids in the development of strong plants but is also vital for flower initiation. Without sufficient light, the plants may struggle to produce the vibrant blooms that precede fruiting.
Remember to cover the soil with black plastic or a dark mulch a week before planting to warm it up, especially if you’re in a cooler region.
By adhering to these guidelines, you can create an ideal environment for your bell peppers to thrive, leading to a bountiful harvest.
Transplanting Seedlings Outdoors
After nurturing your bell pepper seedlings indoors, it’s time to introduce them to their new outdoor home. Ensure the seedlings are properly hardened off before making the transition, as they are sensitive to temperature changes. This process should begin about 10 days prior to transplanting.
- Be mindful of the timing when moving your plants outdoors.* The risk of frost should have passed, and the seedlings should boast at least two sets of true leaves. Bell peppers thrive in areas with ample sunlight, requiring 6-8 hours of direct exposure daily.
When your seedlings exhibit five to eight leaves and roots are visible at the drainage holes, consider upsizing their pots. This step is crucial for maintaining healthy growth and preparing them for outdoor conditions.
Here’s a quick checklist for transplanting your bell pepper seedlings:
- Harden off seedlings for about 10 days
- Wait for frost risk to pass
- Ensure seedlings have two sets of true leaves
- Choose a sunny location with 6-8 hours of sunlight
- Re-pot leggy seedlings to support their structure
- Monitor and maintain warmth and light until planting
Nurturing Your Bell Pepper Plants
Watering and Mulching Techniques
Proper watering and mulching are essential for the health and productivity of your bell pepper plants. Watering should be done deeply and infrequently to encourage strong root growth. Overhead watering can lead to leaf diseases, so it’s best to use a drip irrigation system or water at the base of the plants. A good rule of thumb is to provide about one to two inches of water per week, but this can vary depending on weather conditions.
Italics are not just for emphasis; they’re also a reminder that mulching plays a critical role in maintaining soil moisture and temperature. A layer of organic mulch, such as straw or shredded leaves, can be applied around the plants to a depth of about two to three inches. This not only helps to conserve water but also suppresses weeds and can add nutrients to the soil as it breaks down.
Remember to be gentle when working around your bell pepper plants, especially during weeding, to avoid disturbing the roots. The right balance of watering and mulching will support your plants throughout their growth.
Here are some additional tips for effective watering and mulching:
- Pre-moisten the soil before adding mulch to ensure even moisture distribution.
- Avoid letting the soil dry out completely between watering sessions.
- When mulching, leave a small gap around the stem of the plant to prevent rot.
Staking and Supporting Pepper Plants
To ensure your bell pepper plants remain upright and able to bear the weight of their fruit, proper staking and support are essential. Staking early can prevent root disturbance later on as the plants grow. When staking, gently tie the plants to the stakes using soft materials to avoid damaging the stems.
Stakes or cages should be placed at the time of transplanting to minimize stress on the plants. Bamboo stakes are a popular choice due to their ease of use and flexibility. For a more robust support system, consider using commercially available cone-shaped wire cages, which, while not perfect for tomatoes, are ideal for peppers.
Bell pepper plants can become leggy, so planting them deep into the soil, leaving only a few sets of true leaves above ground, can help stabilize and strengthen them throughout the season.
Remember to consult the specific instructions for your pepper variety, as each may have unique requirements for optimal growth.
Fertilization and Nutrient Management
Proper fertilization and nutrient management are crucial for the healthy growth of bell pepper plants. A balanced approach, often recommended in the Ultimate Guide To Fertilizing, suggests using a fertilizer with equal proportions of Nitrogen (N), Phosphorus (P), and Potassium (K). This ensures that the plants receive a comprehensive range of nutrients for optimal development.
To maintain a steady supply of nutrients, many gardeners incorporate organic, granular fertilizer into the soil at planting time. Following up with diluted liquid fish emulsion or liquid seaweed every couple of weeks can provide the necessary nutrition throughout the growing season.
Additionally, incorporating compost into the soil not only adds essential nutrients but also improves soil structure and fertility. Remember to follow the instructions on your fertilizer’s label and avoid excessive nitrogen, which can lead to lush foliage at the expense of fruit production.
Here is a simple guideline for fertilization frequency:
- At planting: Mix granular fertilizer into the soil.
- Every 2 weeks: Apply diluted liquid fertilizer.
- As needed: Add compost to enrich the soil.
Protecting Bell Peppers from Pests and Diseases
Identifying Common Threats
Bell pepper plants are susceptible to a variety of pests and diseases that can significantly impact their health and yield. Identifying these threats early is crucial for the successful cultivation of bell peppers. Pests such as aphids and flea beetles can cause extensive damage by feeding on the leaves and stems, leading to stunted growth and reduced productivity. Diseases like bacterial leaf spot and viral infections can also pose serious risks to your plants.
To effectively manage these issues, gardeners should be vigilant and regularly inspect their plants for signs of infestation or disease. Common indicators include yellowing leaves, stunted growth, and the presence of insects or their larvae. Here’s a brief overview of some common threats:
- Flea beetles: Tiny holes in leaves, resembling shotgun damage.
- Leaf miners: Meandering blisters in leaves caused by tunneling larvae.
- Root-knot nematodes: Galled roots with stunted, yellow, or wilted plants.
- Spider mites: Fine webs and yellow-specked leaves, turning bronze or brown.
- Bacterial leaf spot: Water-soaked spots on leaves, varying in appearance.
By taking proactive measures such as using row covers, practicing crop rotation, and applying organic pest control methods, gardeners can protect their bell pepper plants and ensure a bountiful harvest.
Organic Pest Control Methods
Organic pest control is essential for maintaining a healthy garden without relying on synthetic chemicals. One effective method is the use of homemade organic sprays. For instance, a Red Pepper Spray can deter various pests and is simple to make at home.
To prepare your own organic sprays, consider the following steps:
- Identify the pests affecting your bell peppers.
- Select appropriate organic ingredients, such as red pepper, garlic, or neem oil.
- Mix the ingredients with water and a mild soap to create a spray solution.
- Apply the spray to the affected areas of the plant, ensuring thorough coverage.
Remember, consistency is key. Regular application of organic sprays can prevent pest infestations and protect your bell peppers effectively.
When dealing with specific pests, targeted strategies can be more effective. For example, aphids can be managed by attracting beneficial insects or using a soap and water solution. Root-knot nematodes require more intensive measures, such as solarizing the soil or practicing crop rotation. Always monitor your plants closely for signs of pests and act promptly to mitigate any issues.
Disease Prevention and Treatment
Maintaining the health of your bell pepper plants is crucial to prevent the onset of diseases and the invasion of pests. Regular monitoring is key to early detection and effective management. For diseases such as Anthracnose, characterized by discolored spots on leaves and fruit, it’s essential to destroy infected plants and apply compost for nutrition. Similarly, bacterial leaf spot demands the removal of affected plant parts and the practice of good air circulation.
To bolster disease resistance, integrate practices like crop rotation and the use of resistant varieties into your gardening routine.
When it comes to pests like aphids, which cause misshapen leaves and distorted fruit, introducing native plants can attract natural predators, aiding in biological control. Remember, the use of approved fungicides and insecticides should be a part of an integrated pest management strategy, ensuring the safety and health of your garden ecosystem.
As the season ends, don’t forget the post-season care. After the first frost, harvest any remaining peppers and compost healthy plants. This practice helps to reduce the likelihood of disease carryover to the next growing season.
Harvesting and Enjoying Your Bell Peppers
Determining the Right Time to Harvest
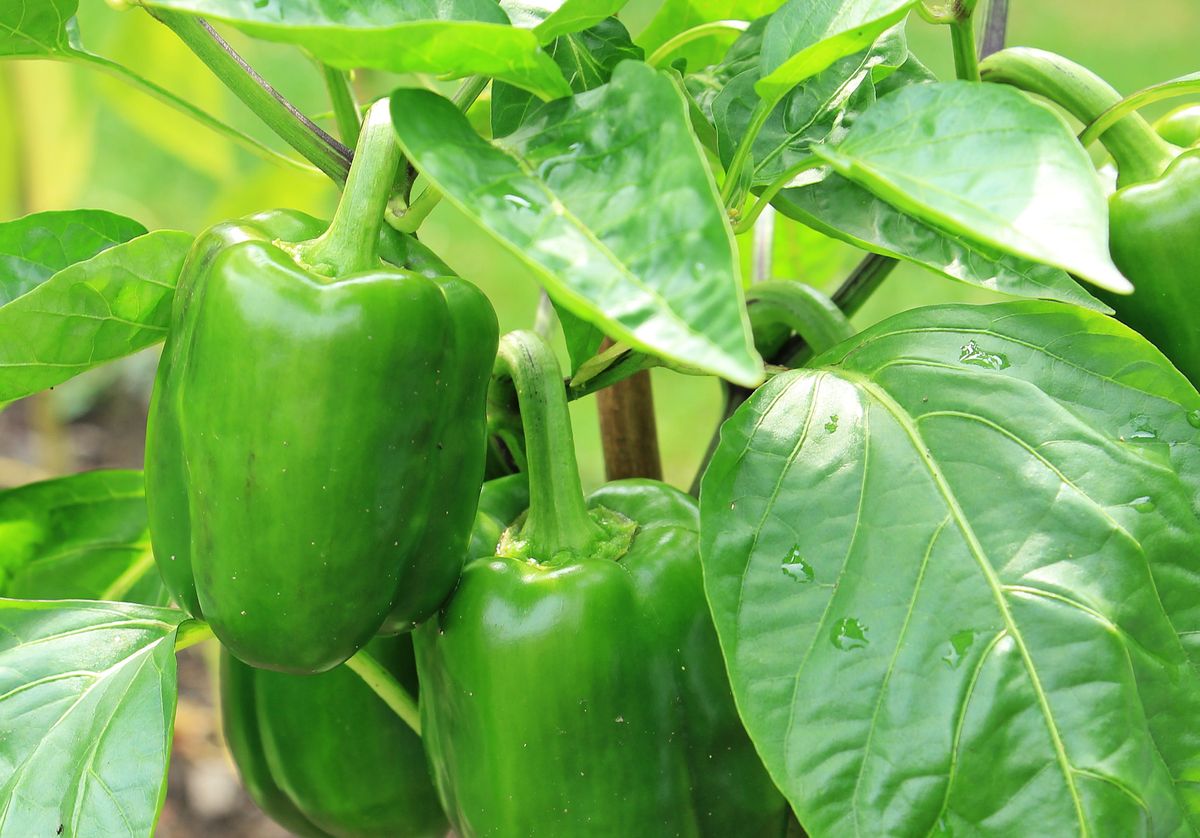
Knowing when to harvest bell peppers is crucial for achieving the best flavor and nutritional value. Harvest bell peppers when they have reached their full size and color. This is a clear indication that they are ripe and ready for picking. Bell peppers can be harvested at any color stage, but the longer they remain on the plant, the sweeter they will taste and the higher their vitamin C content will be.
- Use a sharp knife or scissors to cut the peppers from the plant to avoid damaging the branches.
- Monitor your plants closely, as the time from full color to overripe can be brief, especially in warmer climates.
Consistent harvesting encourages the plant to produce more flowers and subsequently more fruits. It’s a delicate balance between allowing the peppers to sweeten and picking them before they begin to decline.
Remember, the ideal harvesting time can vary depending on the climate and the specific variety of bell pepper you are growing. For instance, the Jupiter pepper’s sweetness intensifies as it loses its green color. Always handle the peppers gently and use clean, sharp tools to ensure a clean cut without harming the plant.
Harvesting Techniques for Optimal Flavor
To ensure your bell peppers have the best flavor and nutritional value, timing the harvest is crucial. Harvest bell peppers when they’ve reached their full size and color to enjoy the fruits of your labor at their peak. Regular harvesting not only rewards you with a bountiful crop but also stimulates the plant to produce more. However, patience can be sweet; the longer bell peppers remain on the plant, the sweeter they become and their vitamin C content increases.
When it’s time to pick your peppers, always use a sharp knife or scissors. This helps to avoid damage to the plant and ensures a clean cut. Here’s a simple guide to follow:
- Inspect the color and size of the bell peppers to determine if they are ripe.
- Use a small, sharp pair of garden scissors or pruners.
- Cut the pepper with a small amount of stalk attached, to prevent damage to the fruit.
Remember, the less green the pepper, the sweeter the flavor. So, if you’re after a milder taste, harvest your peppers a bit earlier.
After harvesting, proper storage is key to maintaining the quality of your bell peppers. Keep them in a cool, dry place and they will stay fresh for a longer period. With these techniques, you’ll be able to savor the flavorful and nutritious bell peppers you’ve grown in your own garden.
Storing and Preserving Bell Peppers
After enjoying the vibrant colors and flavors of your homegrown bell peppers, proper storage is key to extending their shelf life. Refrigerating bell peppers in plastic bags can keep them fresh for up to 10 days. For those looking to preserve their harvest for even longer, freezing is an excellent option. Bell peppers can be frozen whole, sliced, or diced, making them convenient for future use in a variety of dishes.
To freeze bell peppers, first wash and remove the seeds, then cut them into your desired size. Spread the pieces on a baking sheet and freeze until solid before transferring to airtight containers or freezer bags. This method prevents the pieces from clumping together, allowing you to use only the amount you need later on.
For those interested in a more traditional preservation method, drying bell peppers is also a viable choice. The process involves steaming the peppers for about 10 minutes, then drying them in an oven at 140°F for 4 to 6 hours. Once cooled, store the dried peppers in bags or containers in the refrigerator.
When storing bell peppers, always remember to label the containers with the date and variety. This simple step ensures you can track the freshness and enjoy the best quality of your preserved peppers.
Additionally, some gardeners have found success in storing bell peppers in mason jars. This method can help keep your peppers fresh for an extended period when done correctly. For a detailed guide on this technique, consider resources like ‘How To Store Bell Peppers In Mason Jars | Storables’.
Conclusion
Embarking on the journey of growing bell peppers in your garden is a delightful and fulfilling experience. This step-by-step guide has equipped you with the knowledge to plant, nurture, and harvest your own bell peppers, ensuring a fresh supply of this nutritious and versatile vegetable. Remember, patience and care are key to a successful harvest. As you relish the vibrant flavors of your homegrown peppers, take pride in the sustainable choice you’ve made for your kitchen and the environment. Happy gardening, and may your bell peppers flourish!
Mastering the Art of Growing Carrots: Tips for a Bountiful Harvest
Cultivating Zucchini: Tips for a Successful and Abundant Harvest


Thanks for this information