Planting plum trees can be a delightful addition to your garden, offering both aesthetic beauty and a bountiful harvest of succulent fruits. Whether you’re a seasoned gardener or a novice looking to start an orchard, understanding the essentials of plum tree planting is key to success.
This article provides nine easy-to-follow tips to help you get started with planting plums, ensuring that your trees thrive and produce delectable plums for years to come.
Table of Contents
Key Takeaways
- Choose a plum tree variety that is well-suited to your local climate and personal taste preferences.
- Ensure your soil is well-draining and fertile, with the right pH level for optimal plum tree growth.
- Select a location that receives full sunlight and has enough space for the plum tree’s mature size.
- Plant your plum tree during the dormant season, typically in late winter or early spring, to encourage strong root development.
- Follow proper planting techniques, including watering, mulching, and pruning, to protect your plum tree from pests and diseases.
1. Selecting the Right Plum Tree
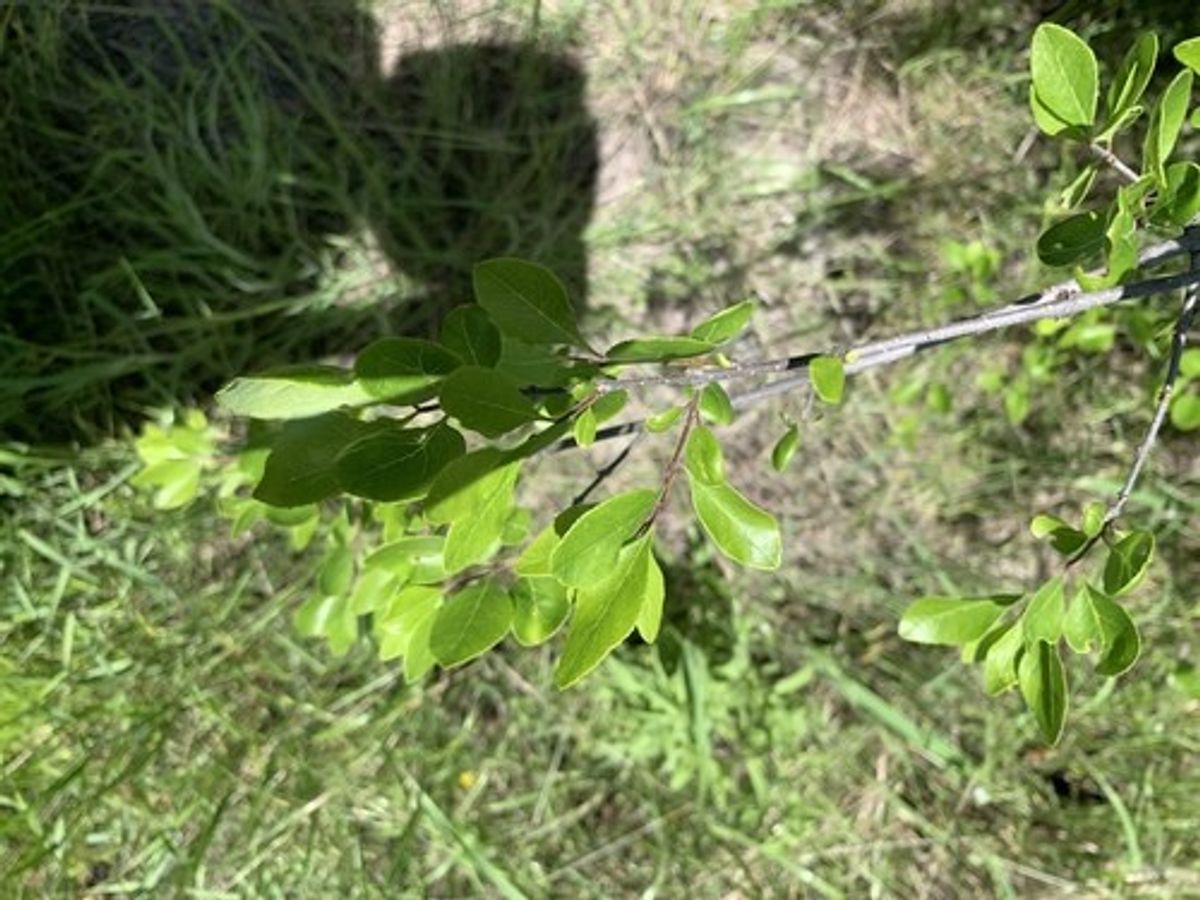
Choosing the right plum tree is the first step to enjoying succulent, home-grown plums. There are two primary types of plum trees to consider: European and Japanese. European varieties are known for their higher sugar content and are excellent for drying and prune production. On the other hand, Japanese plums are larger, ripen earlier, and are great for fresh eating.
Most plum trees require a pollinator, meaning you’ll need to plant at least two different trees to ensure fruit set. Here’s a simple guide to help you select the right plum tree for your garden:
- European Plums: Late blooming, suitable for areas with late frosts, higher sugar content.
- Japanese Plums: Larger fruit, early ripening, ideal for fresh consumption.
Remember to consider the mature size of the tree to ensure it fits well within your landscape. Avoid planting near utility lines and allow enough space for growth. Ultimately, select a variety that you will enjoy eating and that suits your region’s climate.
2. Understanding Soil Requirements for Planting Plums
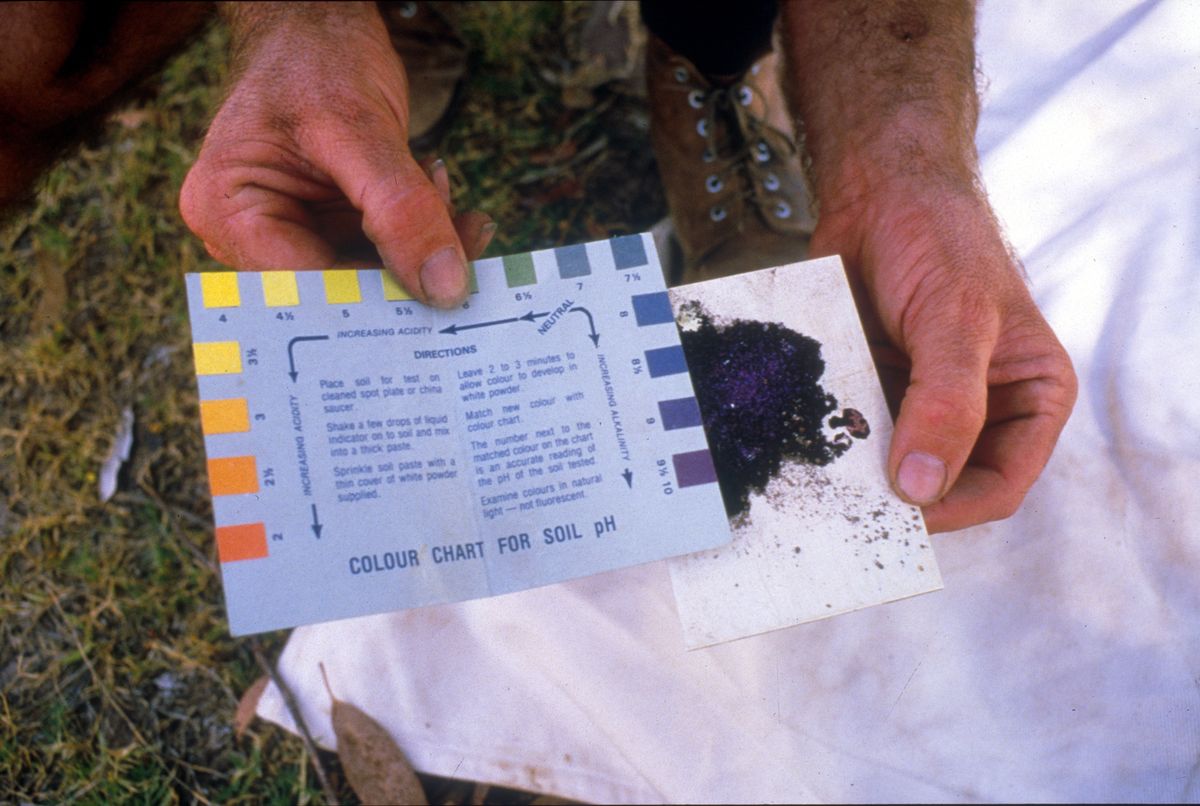
Plum trees flourish in soil that is rich in organic matter and has good drainage. Well-draining soil is crucial for preventing root rot and other water-related issues. It’s essential to test the soil before planting to determine its composition and pH level, which should ideally be slightly acidic to neutral.
Before planting your plum tree, consider these soil preparation steps:
- Conduct a soil test to assess nutrient levels and pH.
- Amend the soil based on test results, adding organic matter if necessary.
- Ensure the topsoil is of good quality, especially in new developments where topsoil may be scarce.
Healthy soil is the foundation of a thriving plum tree. Nourish the soil to support a robust microbial network and root system.
Remember, most of the tree’s absorptive roots are in the top 6 to 15 inches of soil. This is where you should apply water and nutrients for optimal growth and health.
3. Choosing the Perfect Location for Planting Plums

Finding the perfect location for your plum tree is crucial for its growth and fruit production. It’s essential to evaluate the topography, sunlight, and soil quality of your garden to ensure the right conditions. Plum trees require at least 6-8 hours of sunlight daily and thrive in well-drained soil.
When considering where to plant your plum tree, remember that trees have their ideal spots. Some may tolerate wet conditions, while others need well-drained or sandy soil. Consulting with a local expert can help you choose the best spot based on your specific environmental conditions.
Consider the following factors when selecting a location:
- Sunlight: Choose a spot that receives ample sunlight throughout the day.
- Soil: Fertile, well-drained soil is ideal. If you have heavy clay, amend it with peat or leaf mold.
- Space: Ensure there is enough room for the tree to grow and for air to circulate around it.
- Micro-climate: Take into account the micro-climate of the area. Look for wind protection or plan to add a shelter-belt if necessary.
4. Timing Your Planting
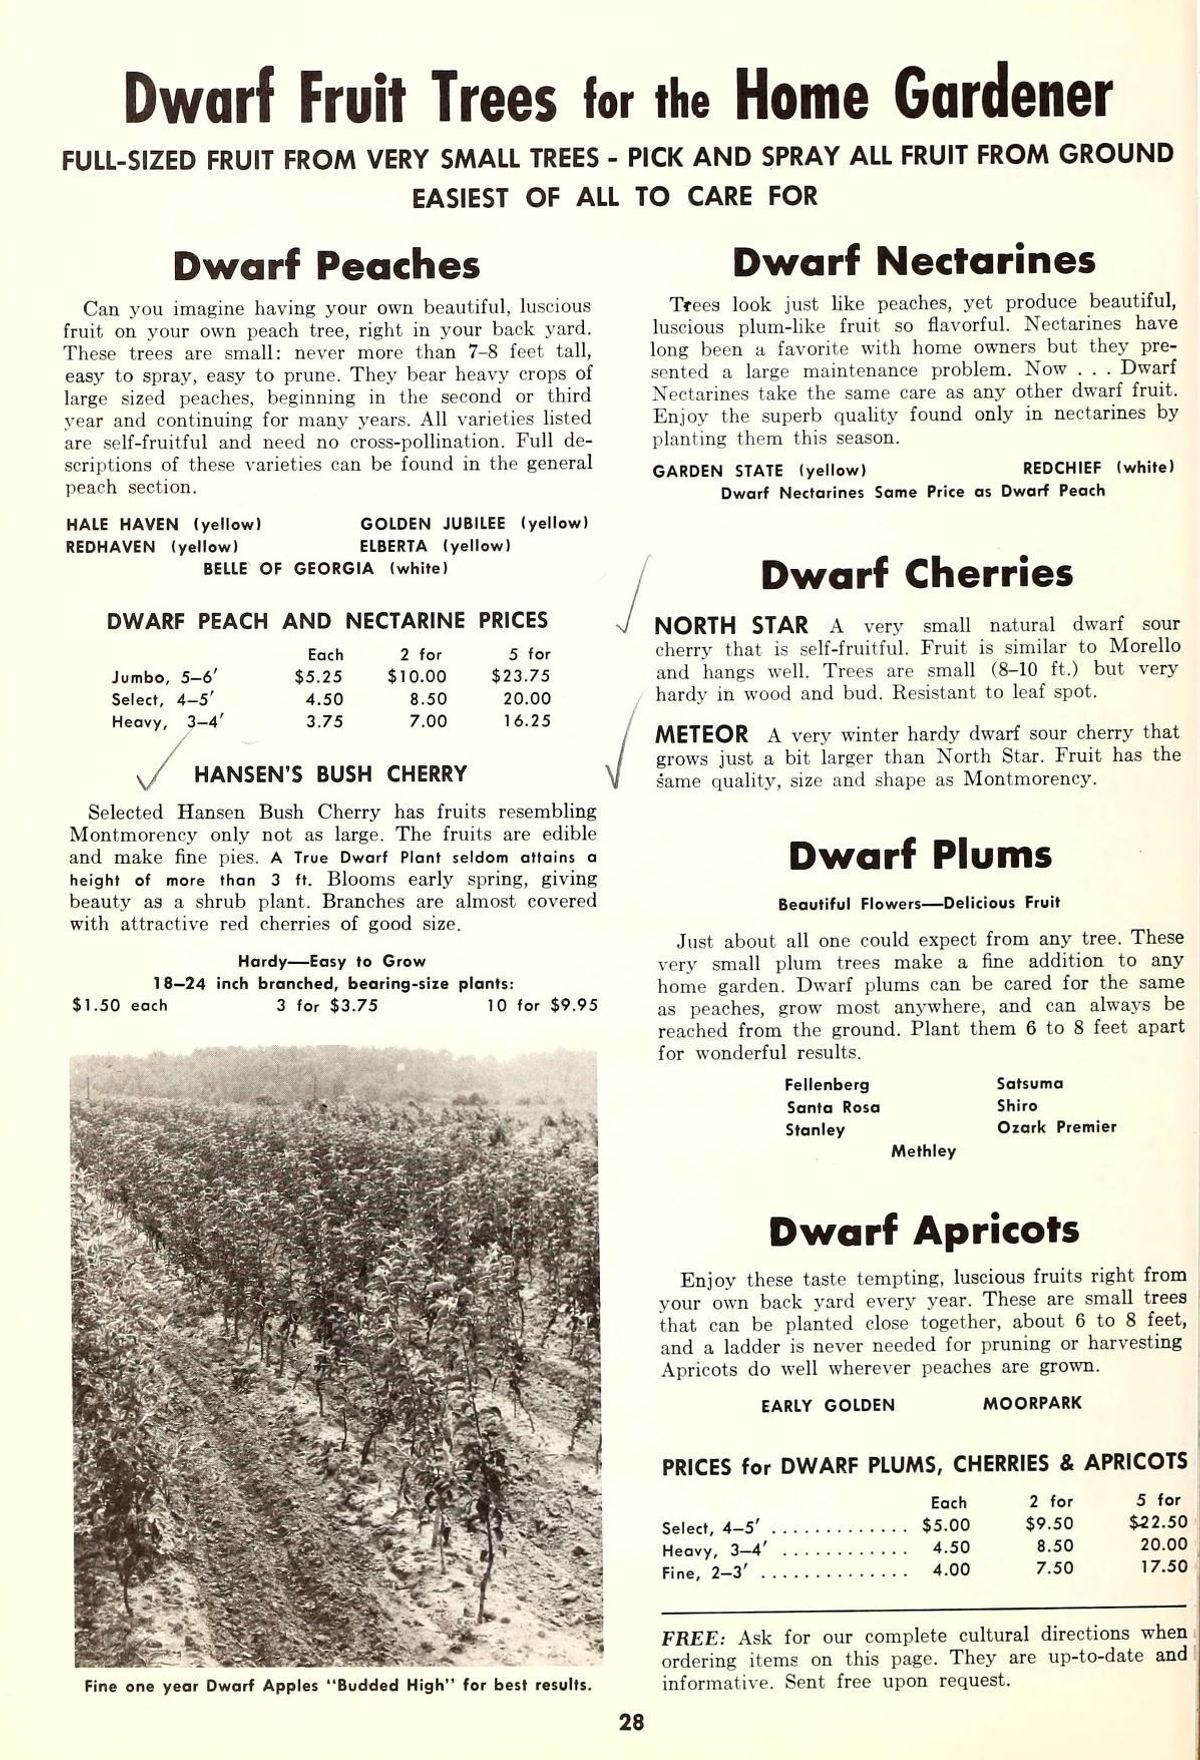
The key to successful plum tree planting is all about timing. Planting at the right time of the year ensures that your trees have the best chance to establish themselves and thrive. Generally, the best time to plant plum trees is during their dormant period, which is in the spring or fall.
Bare root trees, in particular, should be planted when they are dormant. According to Orchard People, the ideal planting times are spring or fall, taking into account the day’s weather conditions.
Here are a few rules of thumb to consider when timing your planting:
- Aim to plant by the end of June for springtime planting.
- Containerized trees can be planted throughout the summer, but be mindful of the increased watering needs and vulnerability to heat.
- Avoid planting in very hot or dry weather spells.
- Get your trees into the ground as soon as possible after purchase, especially bare root trees which may need soaking prior to planting.
5. Preparing the Planting Site
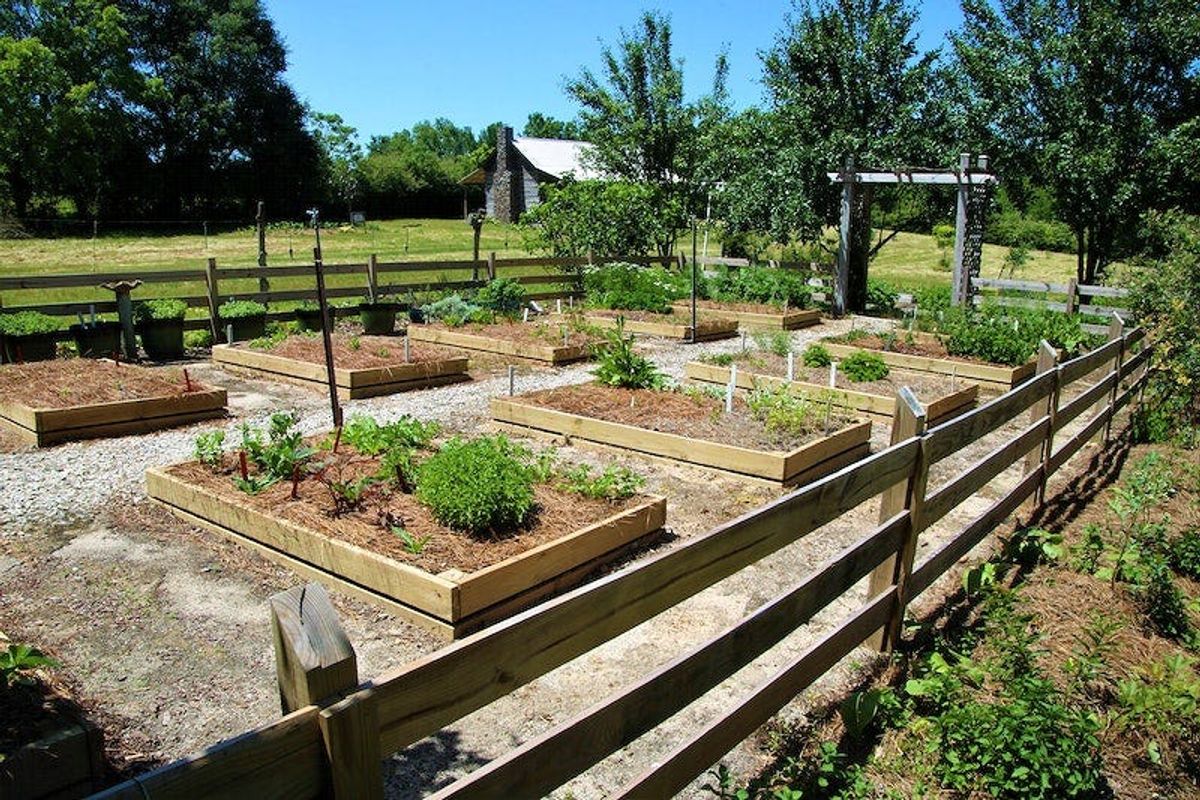
Before you plant your plum tree, preparing the site is crucial for ensuring healthy growth and fruit production. Proper preparation can make a significant difference in your tree’s success.
Assess the soil quality and drainage at your chosen location. Plum trees prefer well-drained soil with a neutral to slightly acidic pH. If necessary, amend the soil with organic matter to improve its structure and fertility.
Clear the area of weeds and debris, and dig a hole that is twice as wide and the same depth as the root ball of your plum tree. This will give the roots plenty of room to expand without being constricted.
Here is a simple checklist to follow when preparing your planting site:
- Remove any weeds or grass within a 3-foot diameter of the planting spot.
- Test the soil pH and adjust if necessary.
- Amend the soil with compost or well-rotted manure if needed.
- Ensure the site is not prone to standing water or frost pockets.
Remember, taking the time to prepare the site thoroughly will pay off with a healthier tree and better yields in the coming years.
6. Planting Techniques for Plum Trees
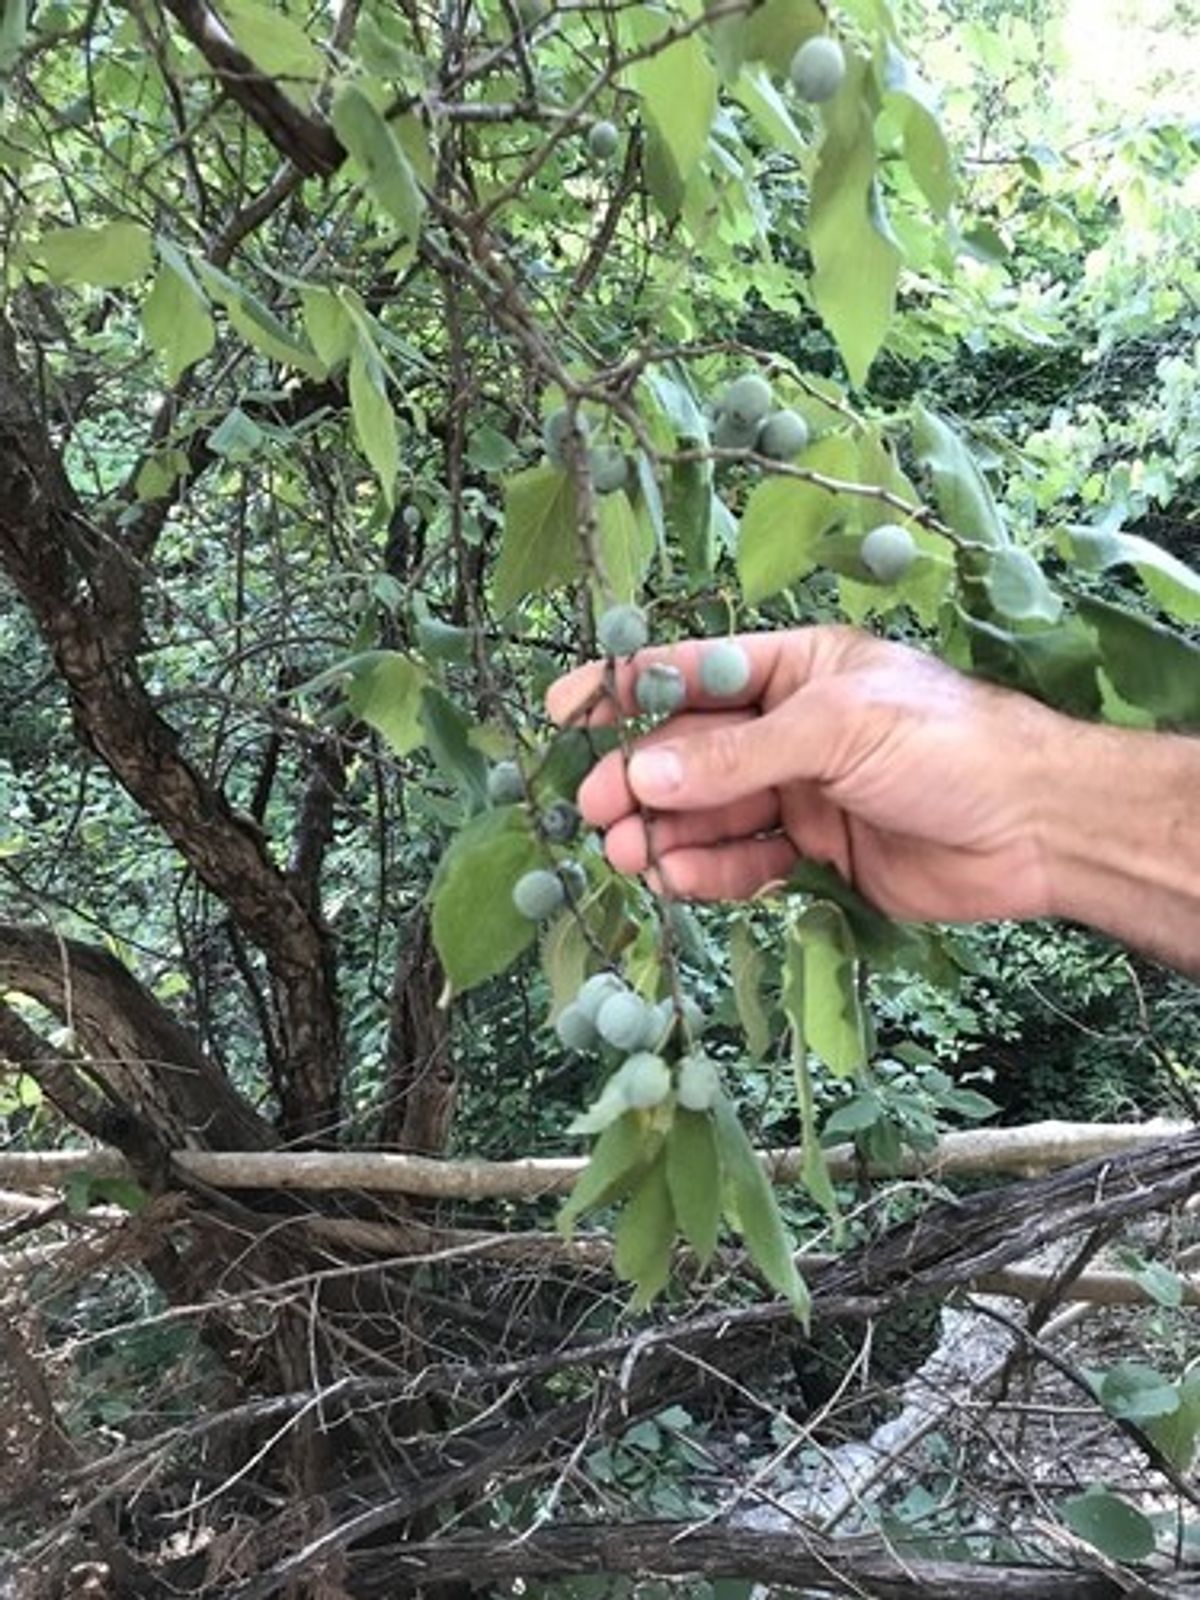
When planting plum trees, it’s essential to consider the specific needs of the variety you have chosen. Japanese plums typically require a different approach than European plums due to their size and ripening times. For instance, Japanese plums are larger and ripen earlier, making them suitable for warmer climates with a longer growing season.
European plums, on the other hand, are more tolerant of cold weather and can be a better choice for areas with late frosts. Remember that most plum trees are not self-pollinating, so planting at least two trees is crucial for successful fruit production.
To ensure a strong start for your plum trees, follow these planting steps: Dig a hole twice as wide and the same depth as the root ball. Position the tree so that the graft union is above soil level. Backfill the hole with a mix of native soil and compost. Water thoroughly to settle the soil around the roots.
After planting, it’s important to provide consistent care, including watering, mulching, and pruning. Pruning should be done aggressively both in winter and summer to control the spreading nature of plum trees and encourage healthy growth.
7. Watering and Mulching

Proper watering and mulching are critical for the health and growth of your plum trees. For the first two years, soak your entire mulch area to encourage the roots to grow outwards. After planting, give your tree a thorough watering to ensure good root-soil contact and to prevent planting shock. A five-gallon bucket of water is usually sufficient for a new tree.
When it comes to mulching, avoid doing it immediately after planting as it can make it difficult to assess the moisture level of the roots. Instead, wait until fall to apply mulch. Use organic materials like straw, shredded leaves, or large wood chips, and spread a layer about 3 inches deep around the tree. This not only helps regulate soil temperature and moisture but also suppresses weeds and adds nutrients as it decomposes.
Regularly replenish the mulch layer, especially in the spring, to maintain soil fertility and health. Remember to choose mulch sources that haven’t been treated with chemicals to ensure the safety and organic quality of your fruit.
8. Pruning and Maintenance
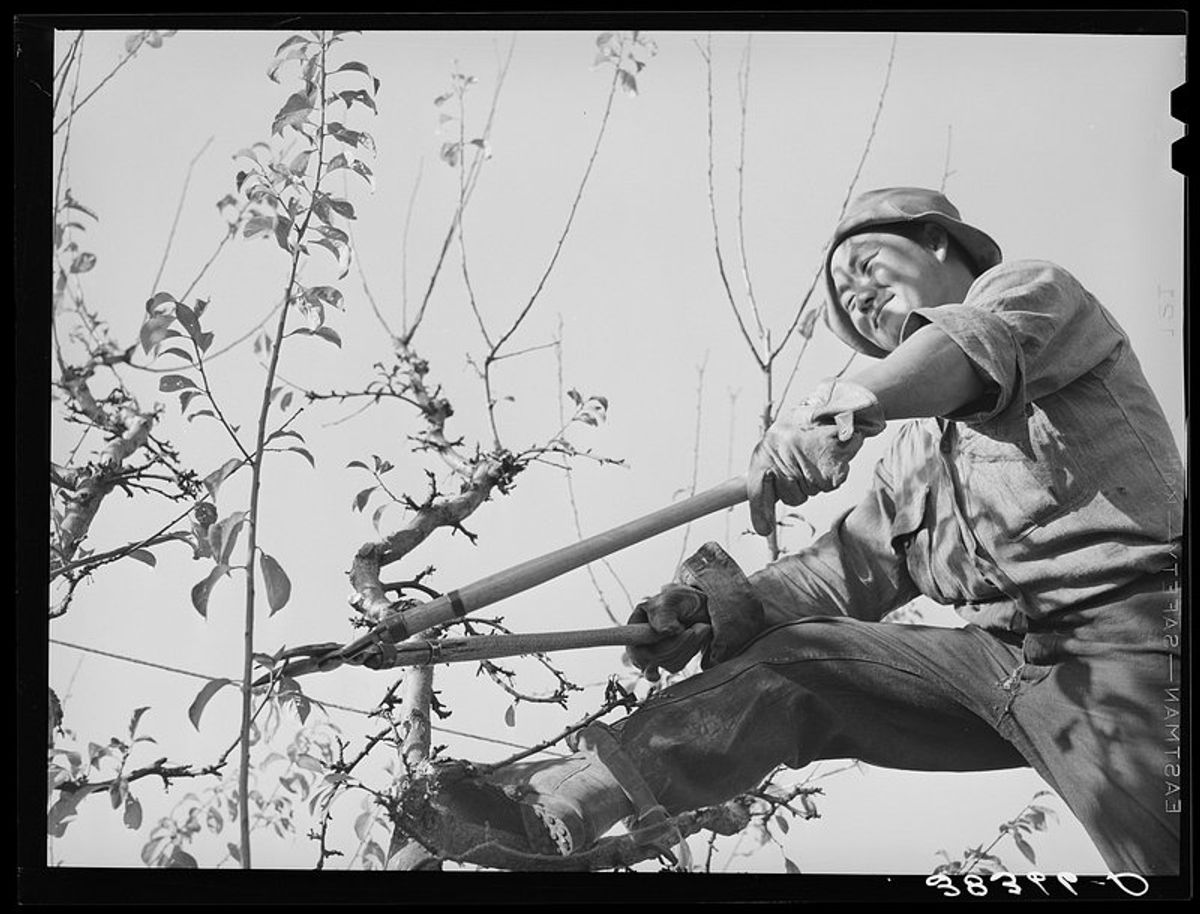
Proper pruning and maintenance are essential for the health and productivity of your plum trees. Pruning is not just about shaping the tree; it’s about promoting better fruit quality and preventing disease. Make sure to use sharp tools like branch trimmers, pruning shears, and folding saws for clean cuts.
When to Prune:
- Prune during dormancy, typically in late winter or early spring.
- Annual aggressive pruning is key, especially in the first year to set the tree’s shape.
- Trim trees taller than 4-6 feet to this height after planting.
Prune to allow sunlight to reach the interior of the tree, keeping it drier and reducing the risk of fungal diseases. Regular pruning maintains the tree’s structure and balance, minimizing limb breakage during storms.
Always make clean cuts just above a bud or lateral branch. If you’re unsure about the pruning process, seek advice from local experts. Avoid excessive pruning, but remember that it is a crucial part of growing organic fruit trees. Thin out inward-growing branches and any that cross over each other, and trim the tips of larger branches to encourage growth.
9. Protecting from Pests and Diseases
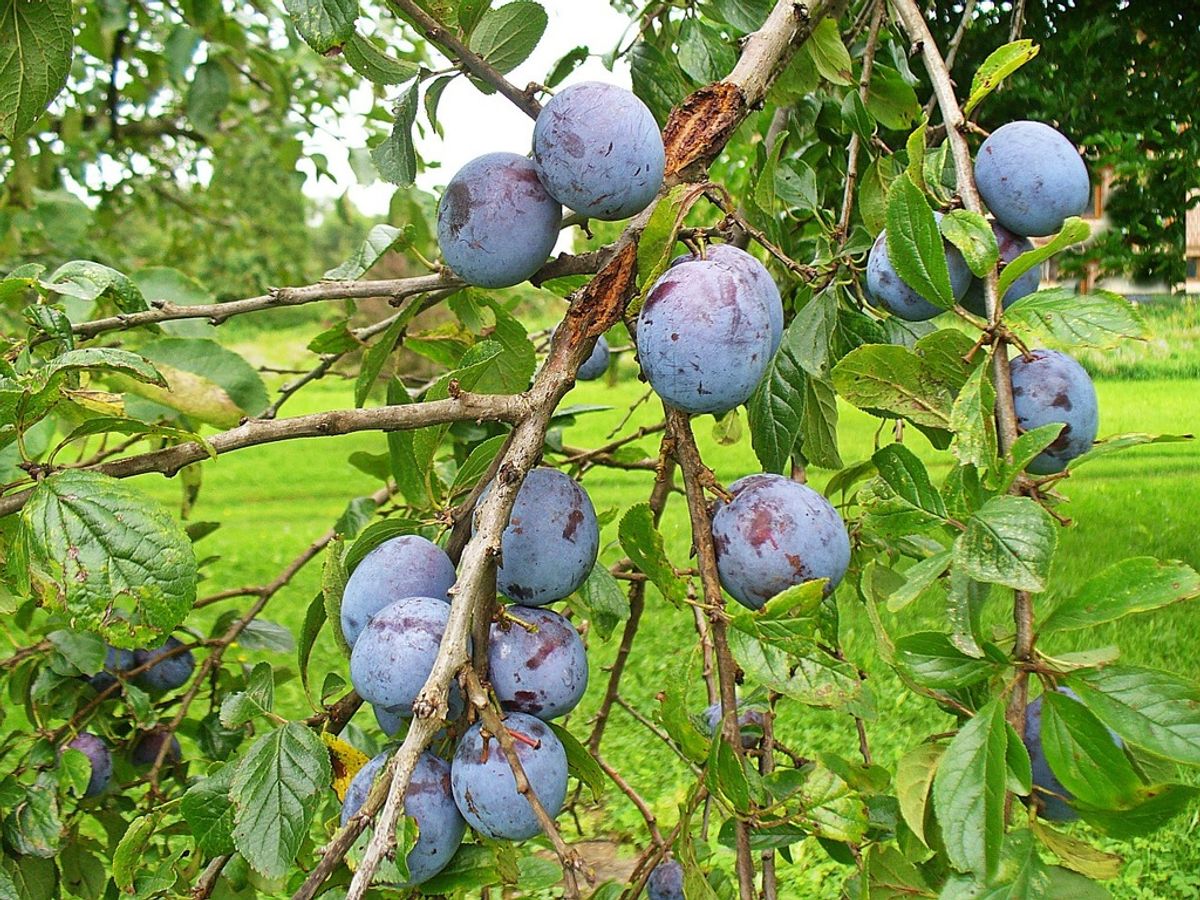
Ensuring your plum trees remain healthy and productive involves proactive measures against pests and diseases. Regular monitoring is crucial for early detection of any issues. If you notice spots on the leaves, broken branches, or oozing from the trunks, these could be signs of fungal infections or pest infestations.
Pesticides can be used to protect your trees, but always follow the label directions carefully. For an eco-friendly option, consider using kaolin clay as a physical barrier to repel pests like Japanese Beetles. This natural solution is safe for pollinators and can be applied up to harvest.
Be proactive in your approach to plant care. Implementing preventative measures and treating problems promptly can save your orchard from significant damage.
Here are some common pests and diseases to watch out for in plum trees:
- Aphids
- Scale insects
- Codling moths
- Apple scab
- Fire blight
- Cedar-apple rust
Remember, a healthy tree is the best defense against pests and diseases. Maintain a routine of proper watering, mulching, and pruning to keep your plum trees in top condition.
5 Tips and Techniques for Growing Eggplant: From Seed to Plate
Cultivating Zucchini: Tips for a Successful and Abundant Harvest
Step-by-Step to Growing Bell Peppers in Your Garden
Mastering the Art of Growing Carrots: Tips for a Bountiful Harvest


